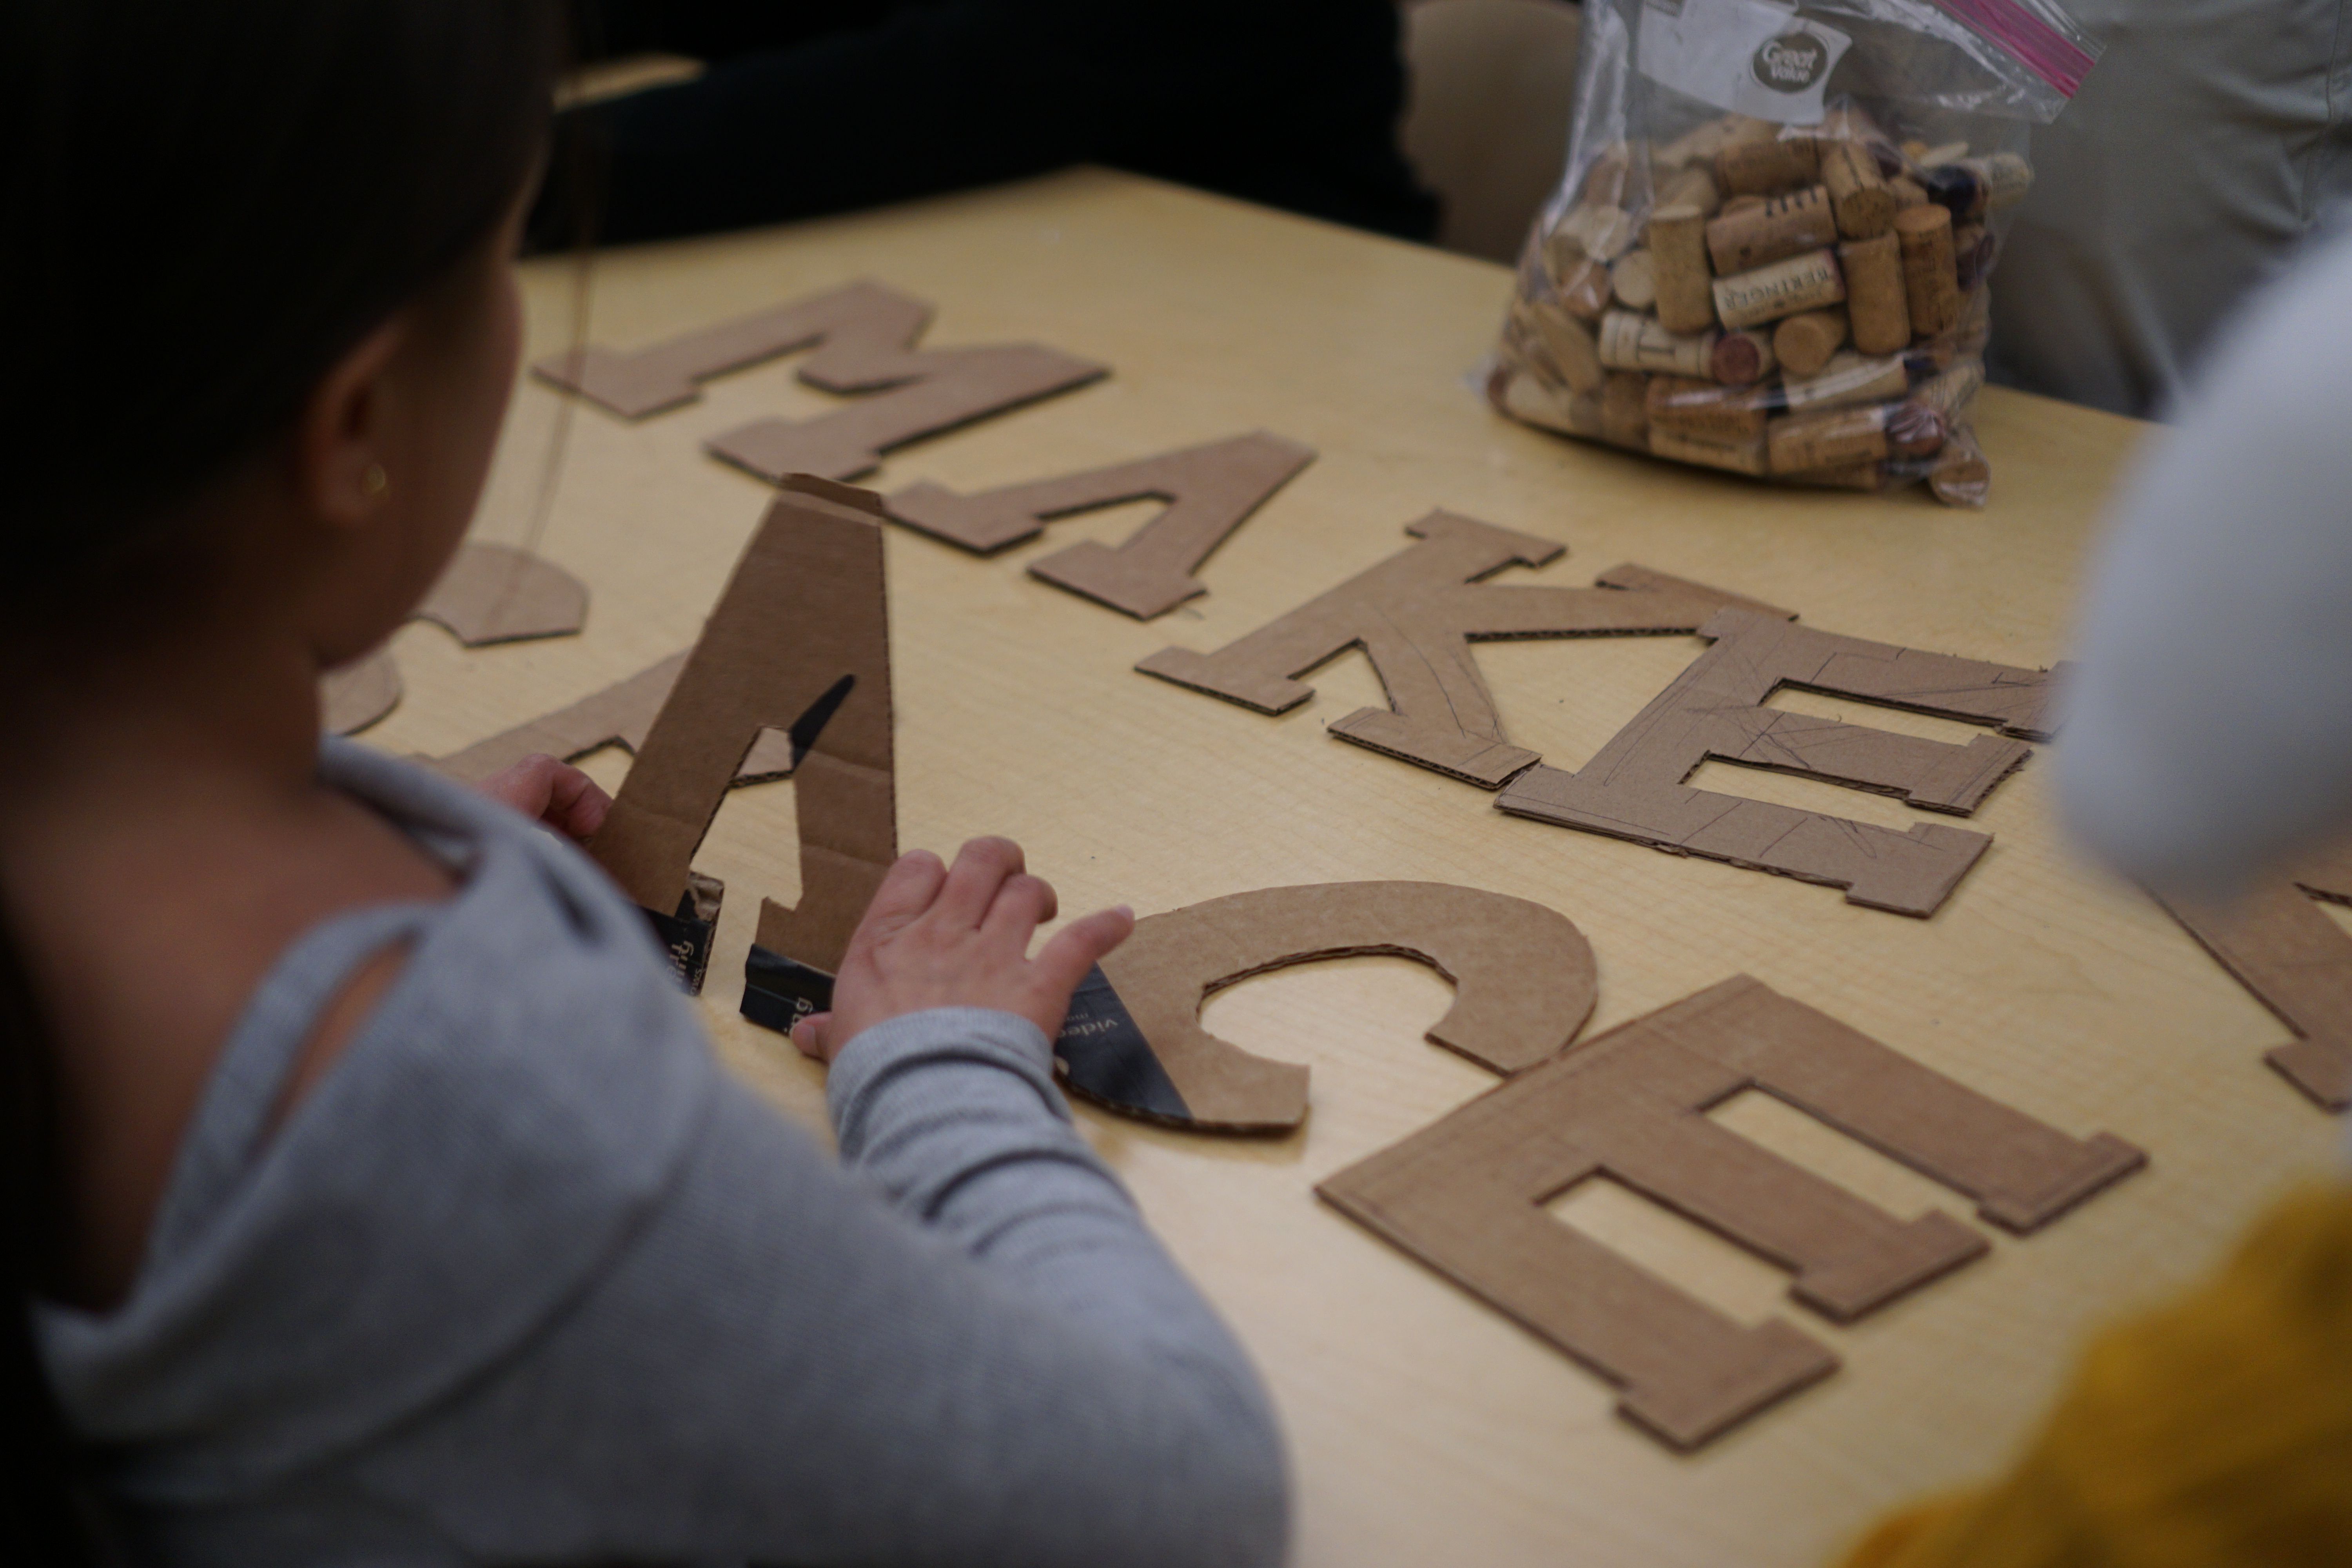
Let’s be honest — the idea of setting up a “makerspace” can sound intimidating.
Maybe you’re thinking, “We don’t even have enough outlets, let alone a 3D printer.”
But here’s the truth: you don’t need fancy tech or a new room to bring the maker mindset into your classroom. What you do need is curiosity, creativity, and a willingness to let students explore and build with what’s already around them.
Whether you teach science, art, or language arts, these five simple ideas will help you infuse maker learning into your lessons — no extra space or big budget required.
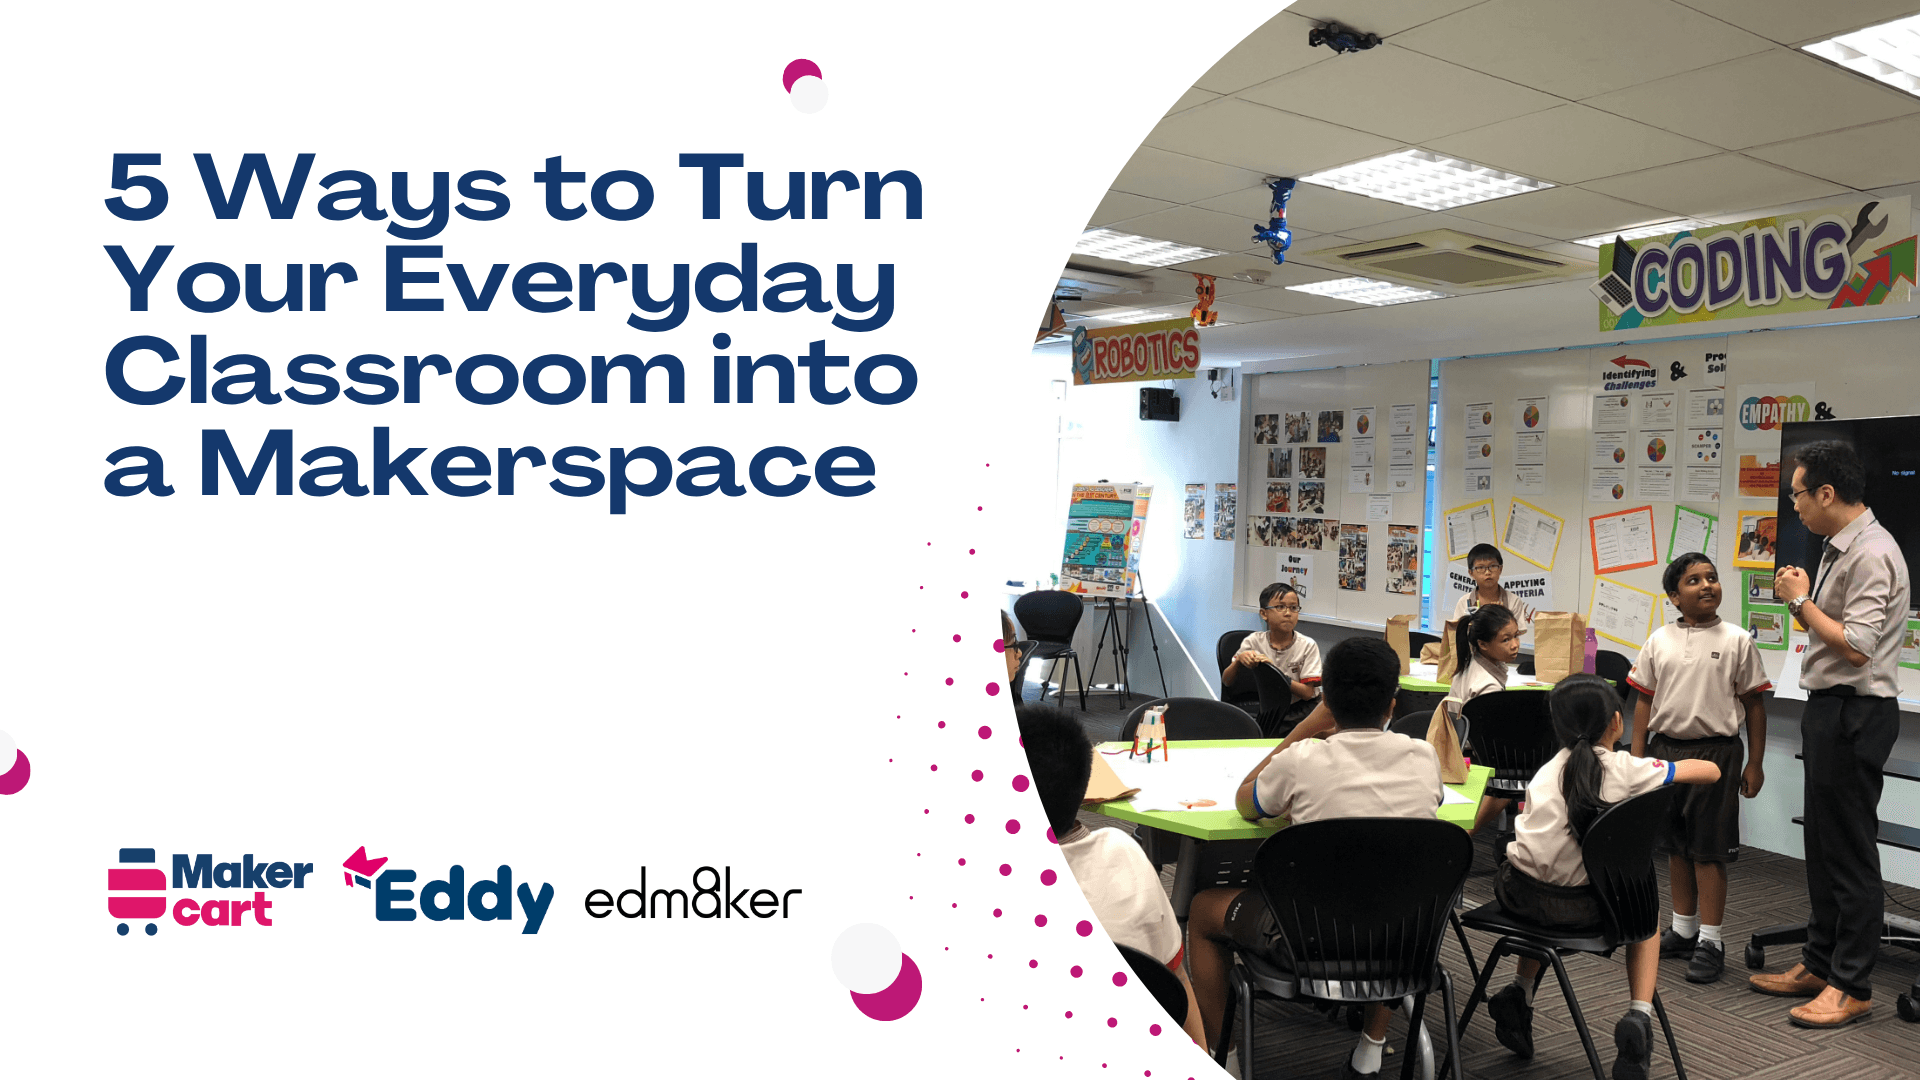
1. Start Small — Create a Maker Corner
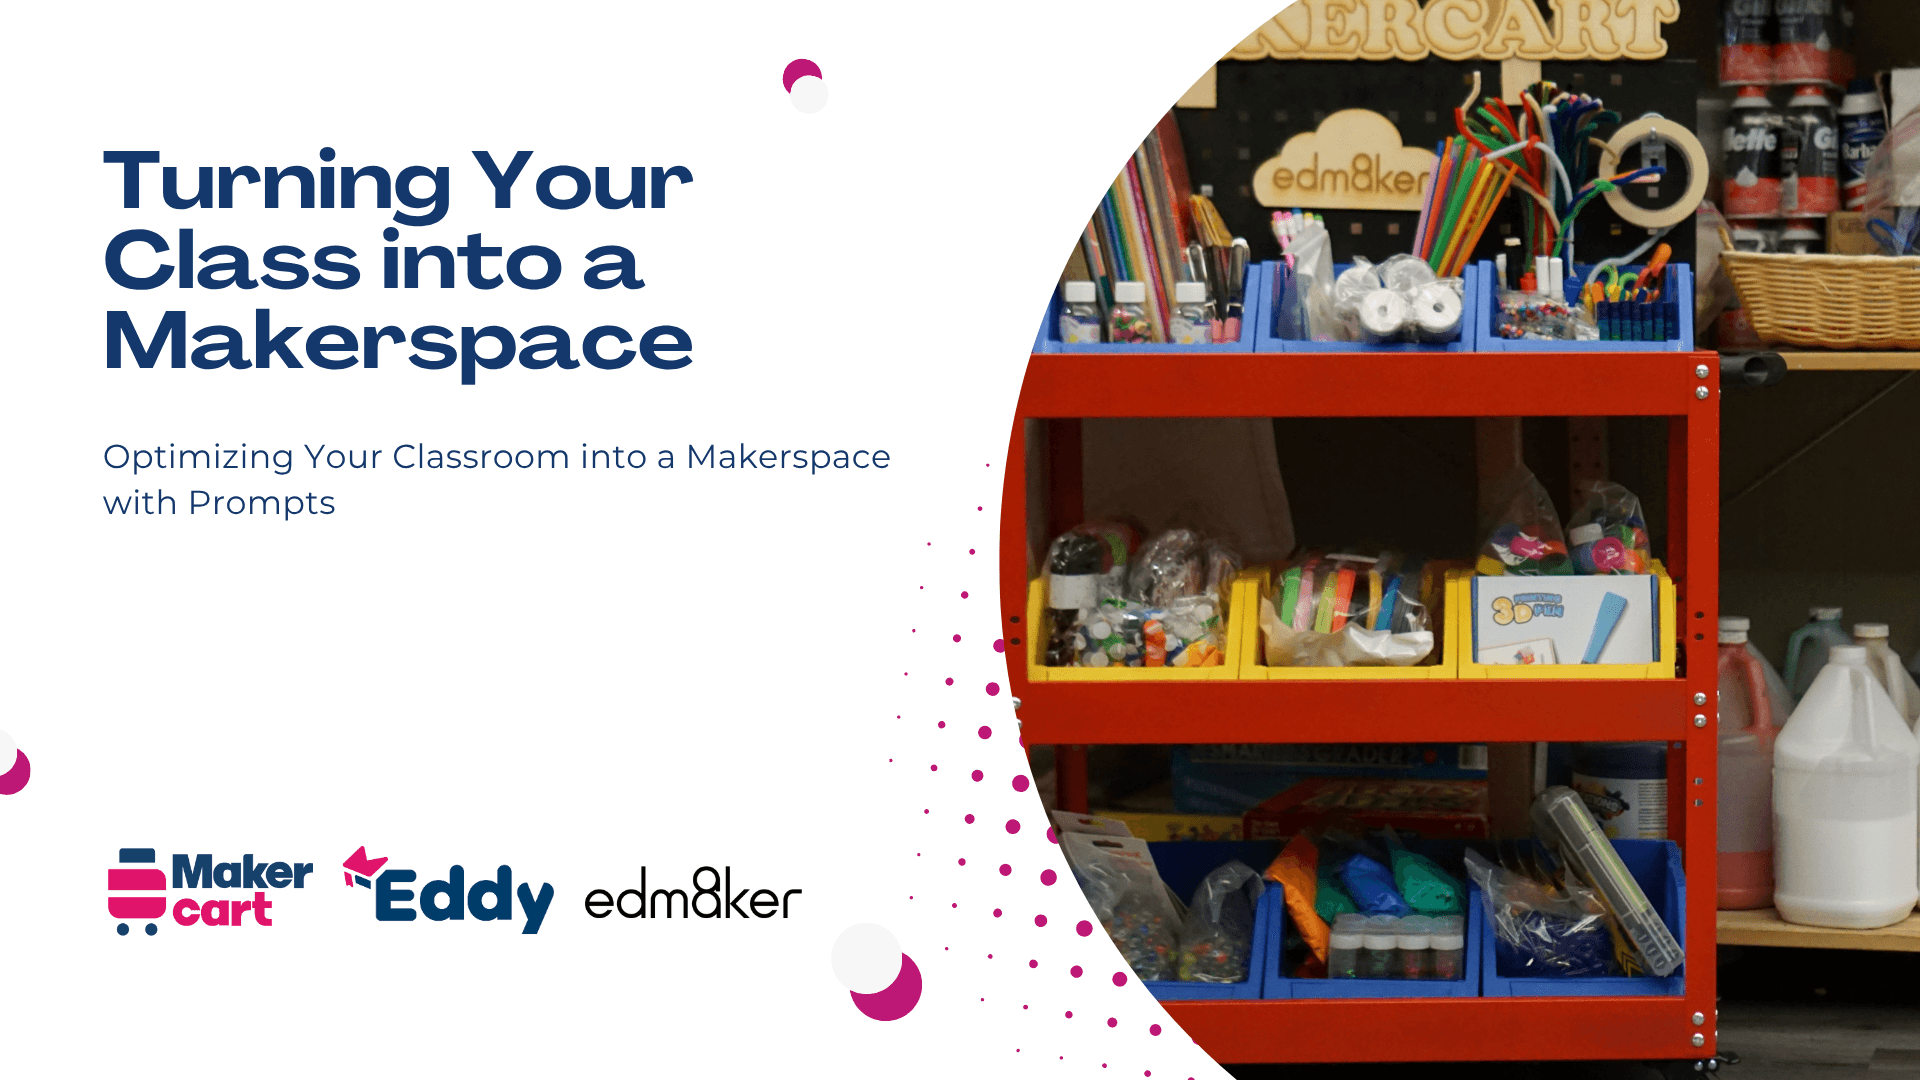
You don’t need a full room to start making. Begin with a corner, a cart, or a shelf — something simple that signals to students: this is a space for creativity.
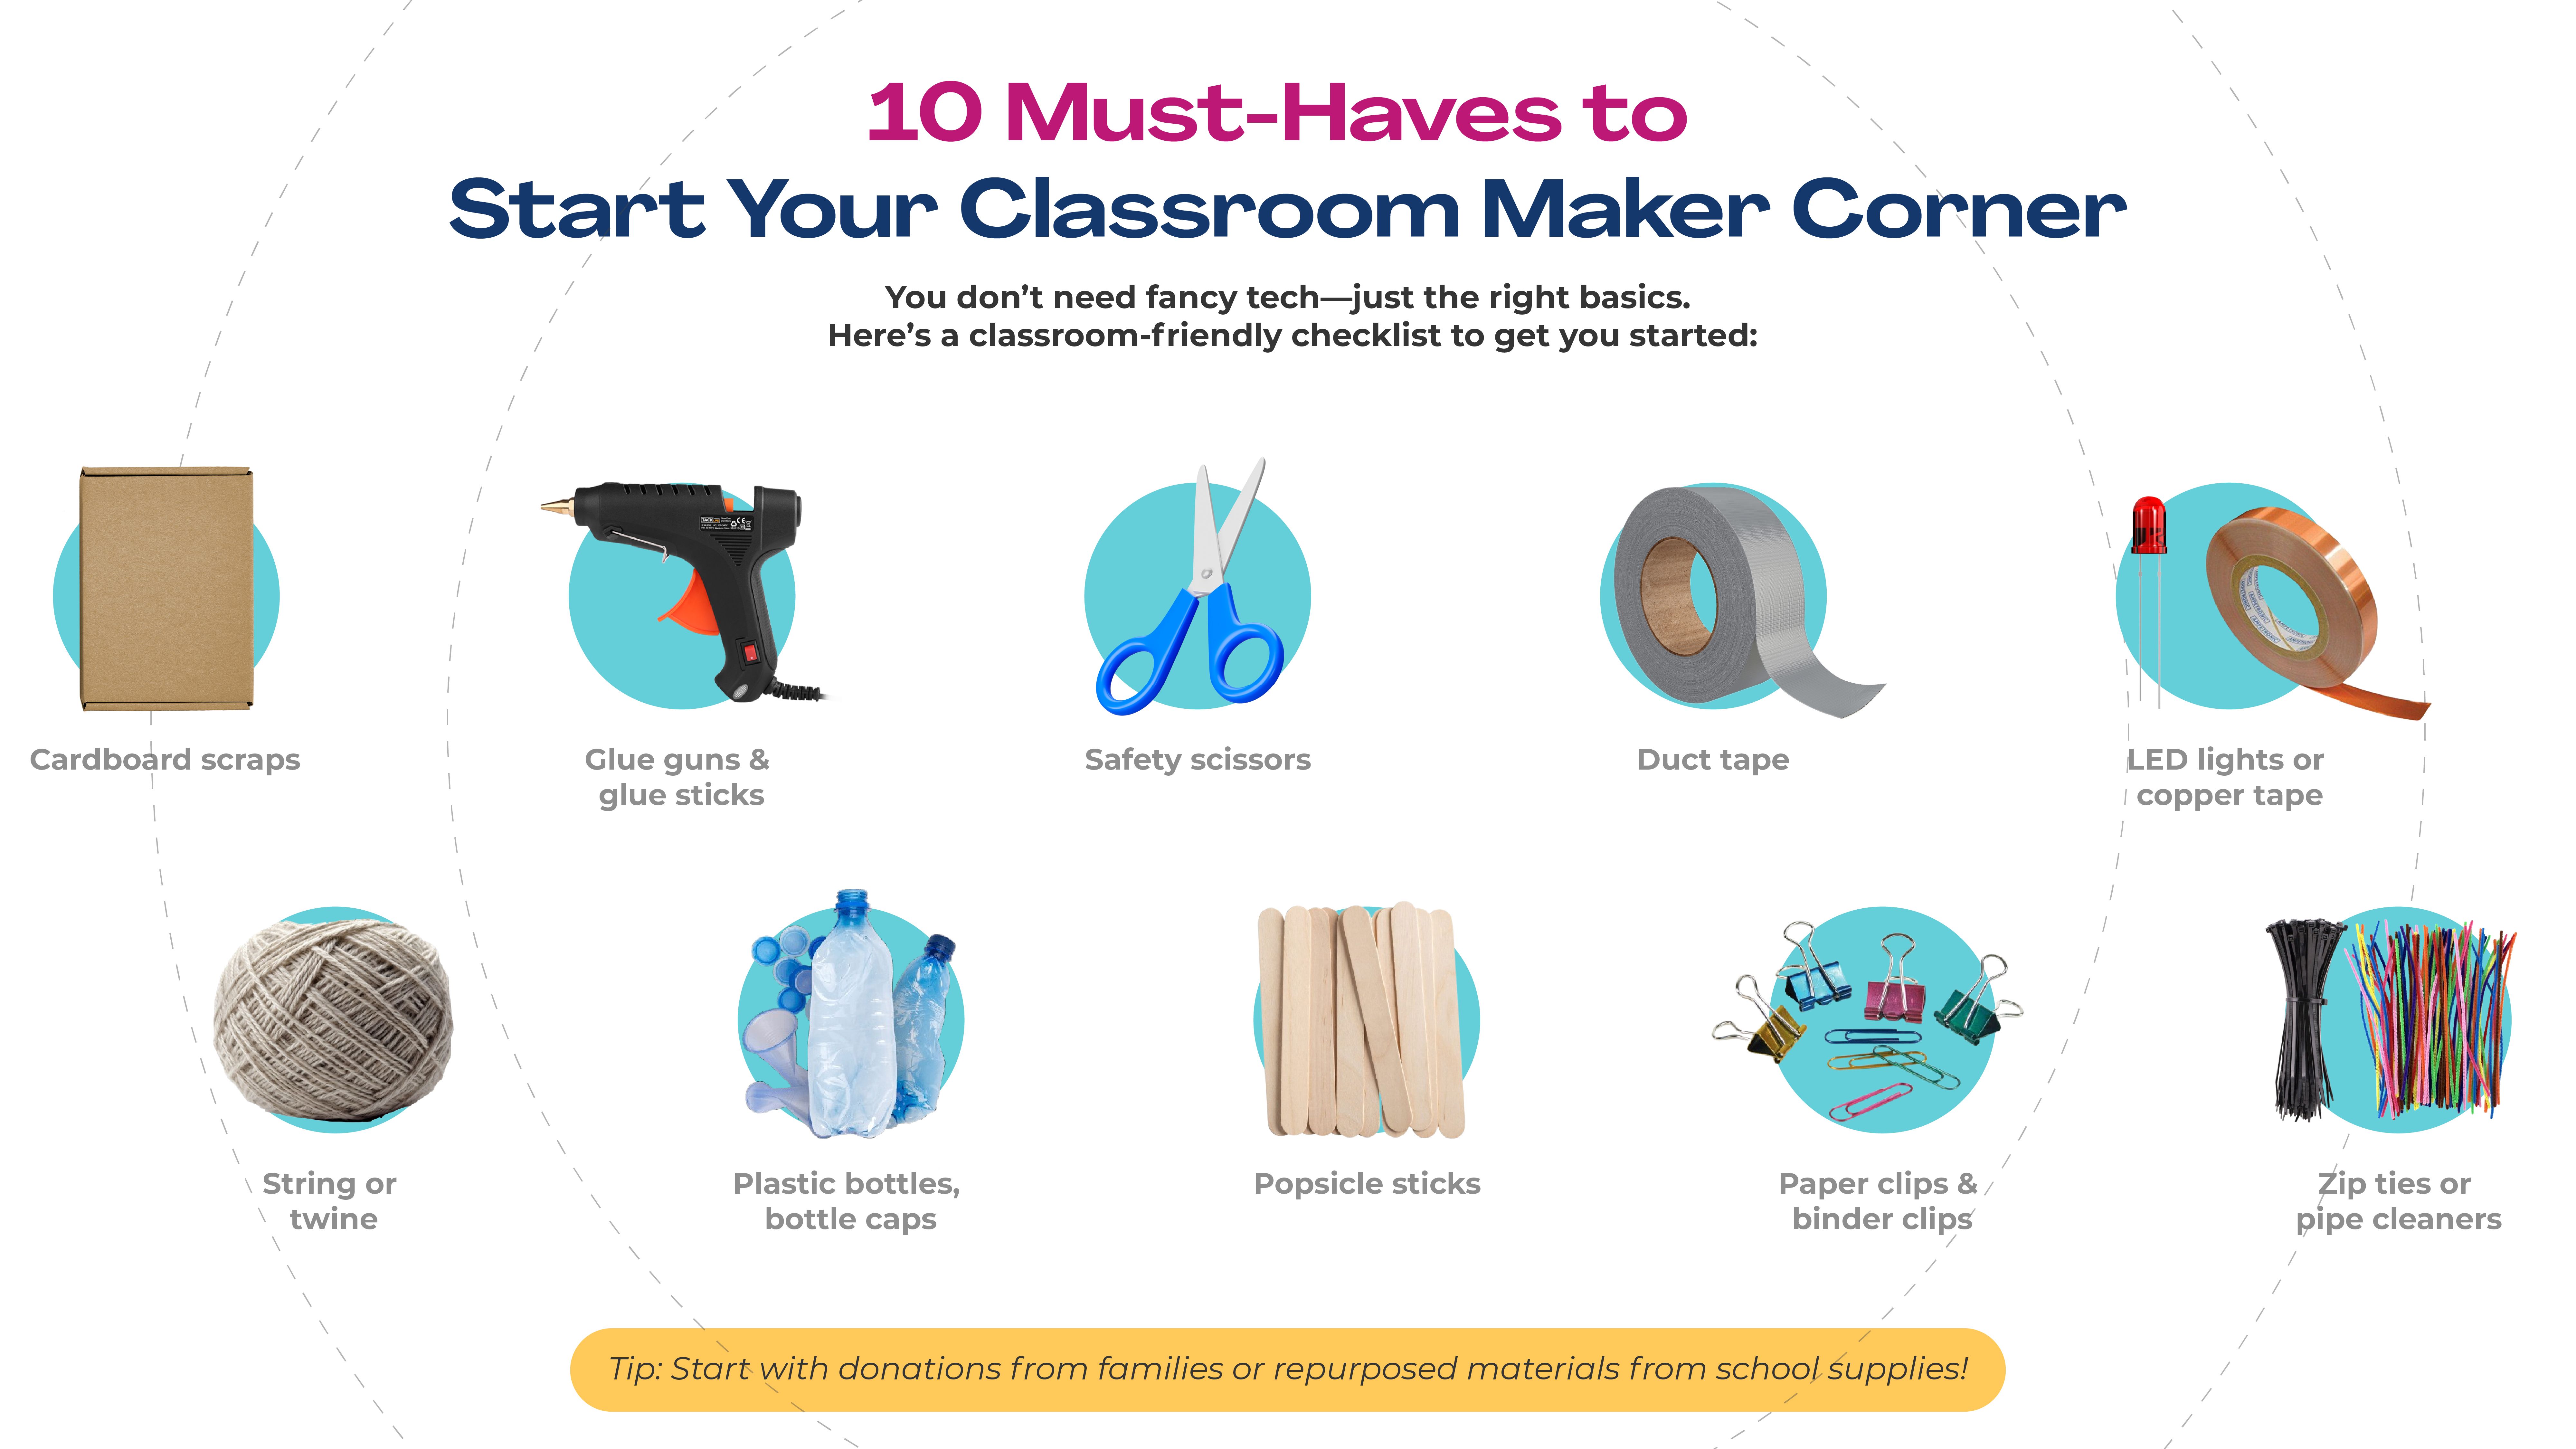
Choose a spot that’s visible and easy to access. Stock it with low-cost materials like cardboard, tape, popsicle sticks, rubber bands, string, and recyclable bits. Label it the Maker Zone, and let students take ownership of keeping it organized.
Try this:
Invite parents to donate craft or tech materials they no longer use.
Encourage students to bring in clean recyclables from home.
Print a fun “You’re in the Maker Zone” sign to make it feel official.
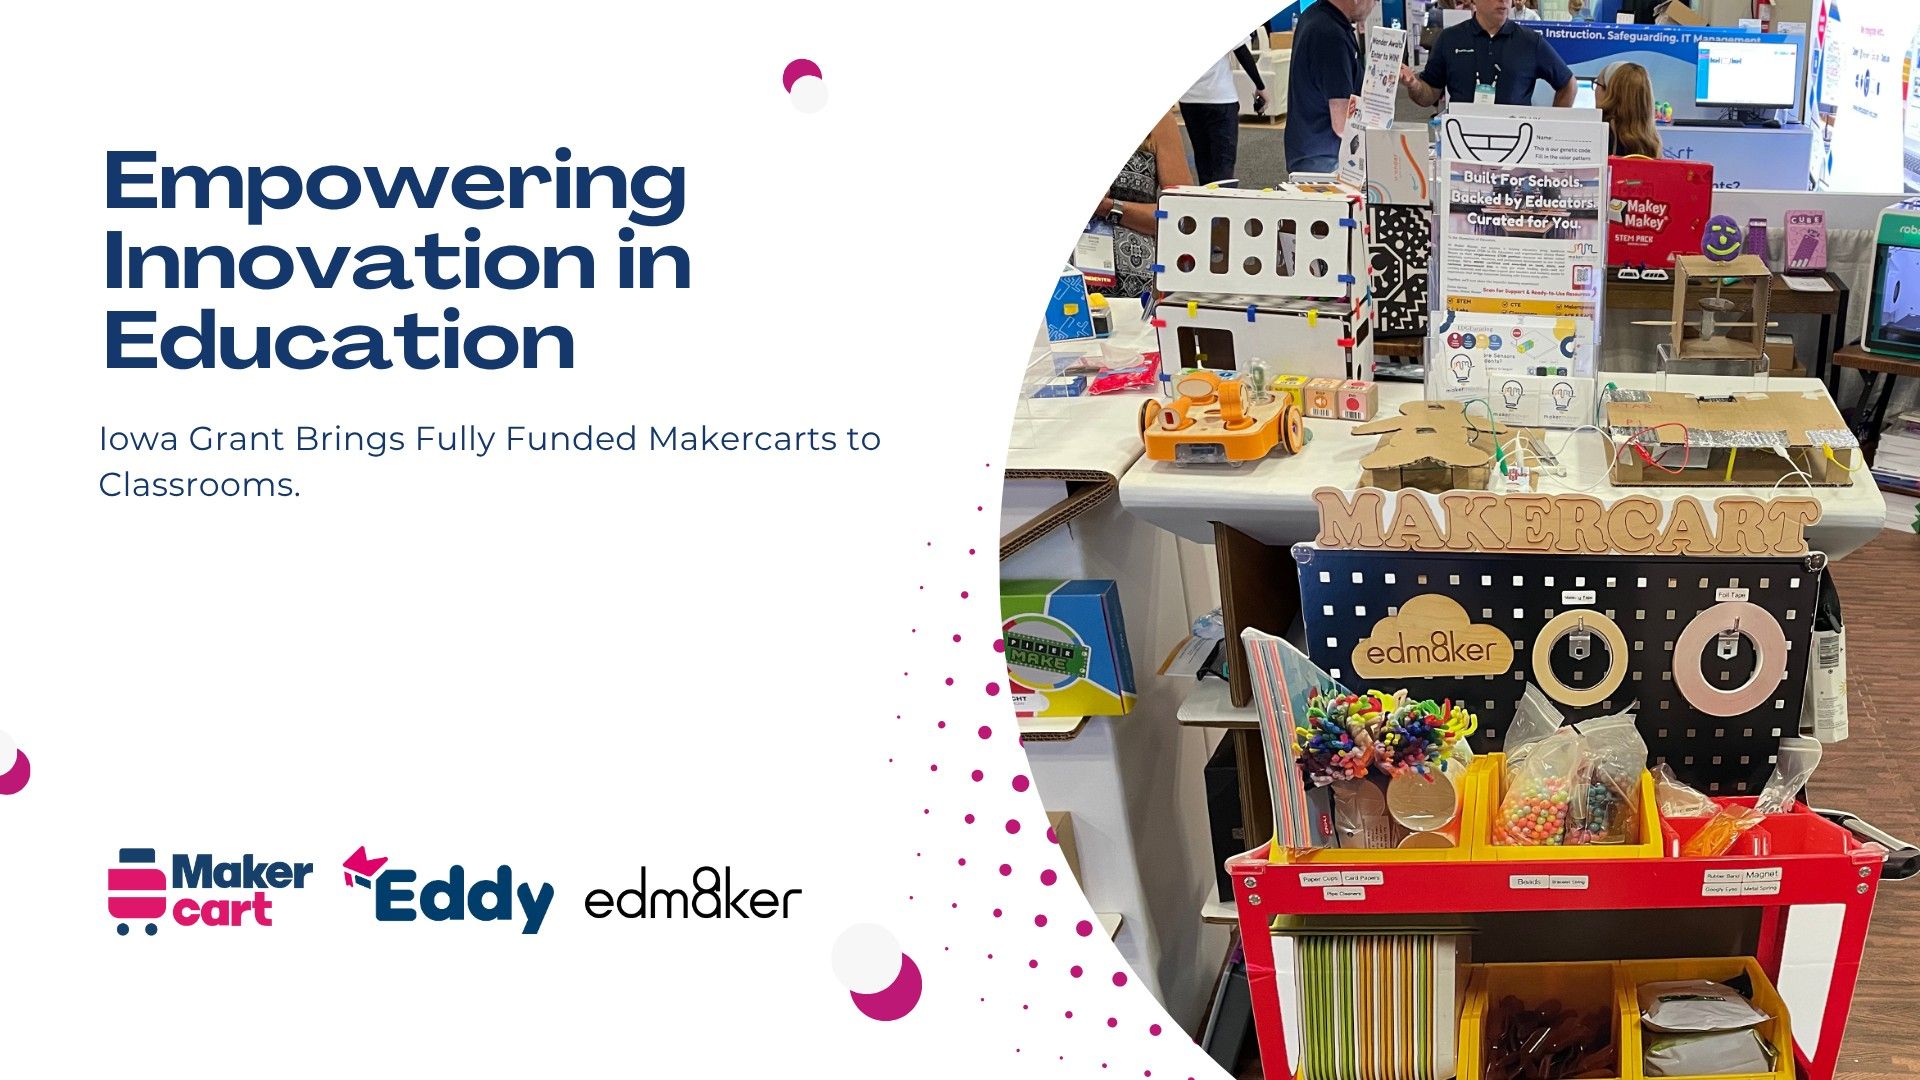
💡 Pro Tip: If you’d like a plug-and-play way to get started, explore the Makercart — a full, mobile makerspace preloaded with materials, project ideas, and teacher guides. It’s designed to help any classroom jump into hands-on learning without the need for a dedicated space or extra setup
📎 Graphic to Save: "Quick List: 10 Items to Kickstart Your Maker Corner"
2. Make the Curriculum Your Launchpad
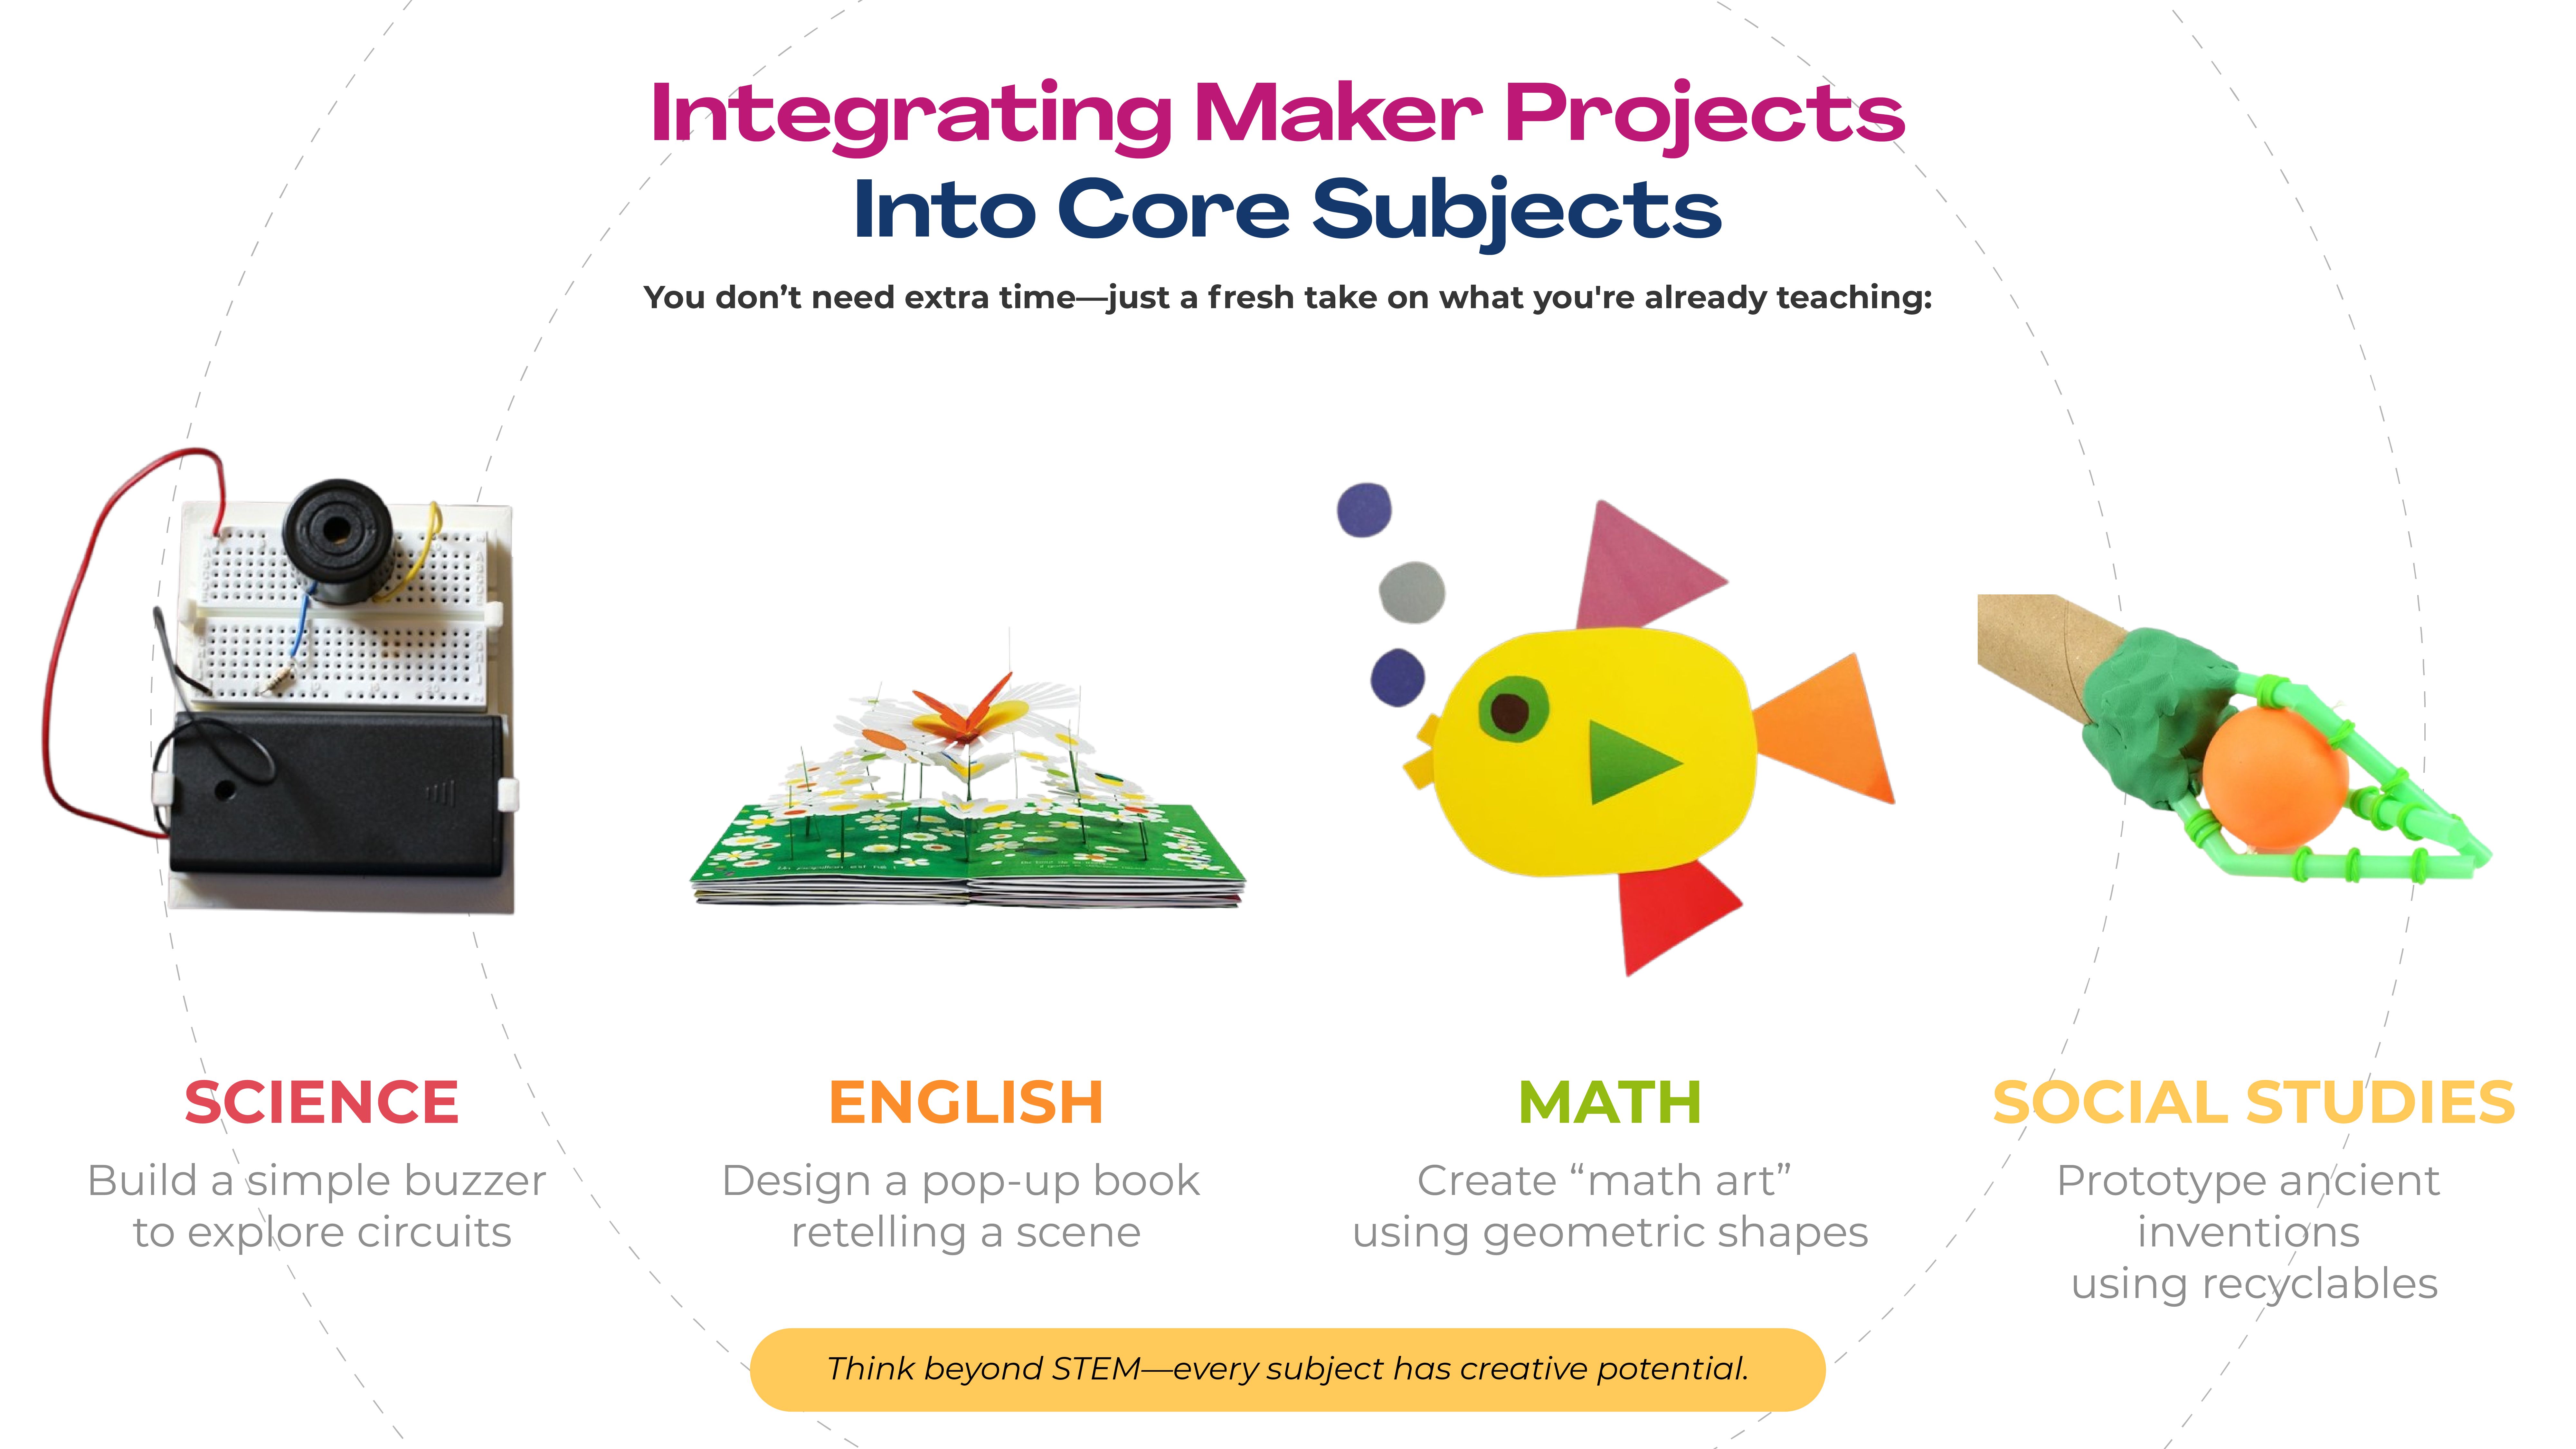
One of the biggest misconceptions about making is that it requires extra time. In reality, it fits beautifully inside your existing lessons.
Here’s how:
Science: After teaching circuits, have students design a simple buzzer game or flashlight prototype.
English: Let them design a pop-up storybook to retell a scene from a novel.
Social Studies: Ask them to build models of ancient inventions or modern redesigns of historic tools.
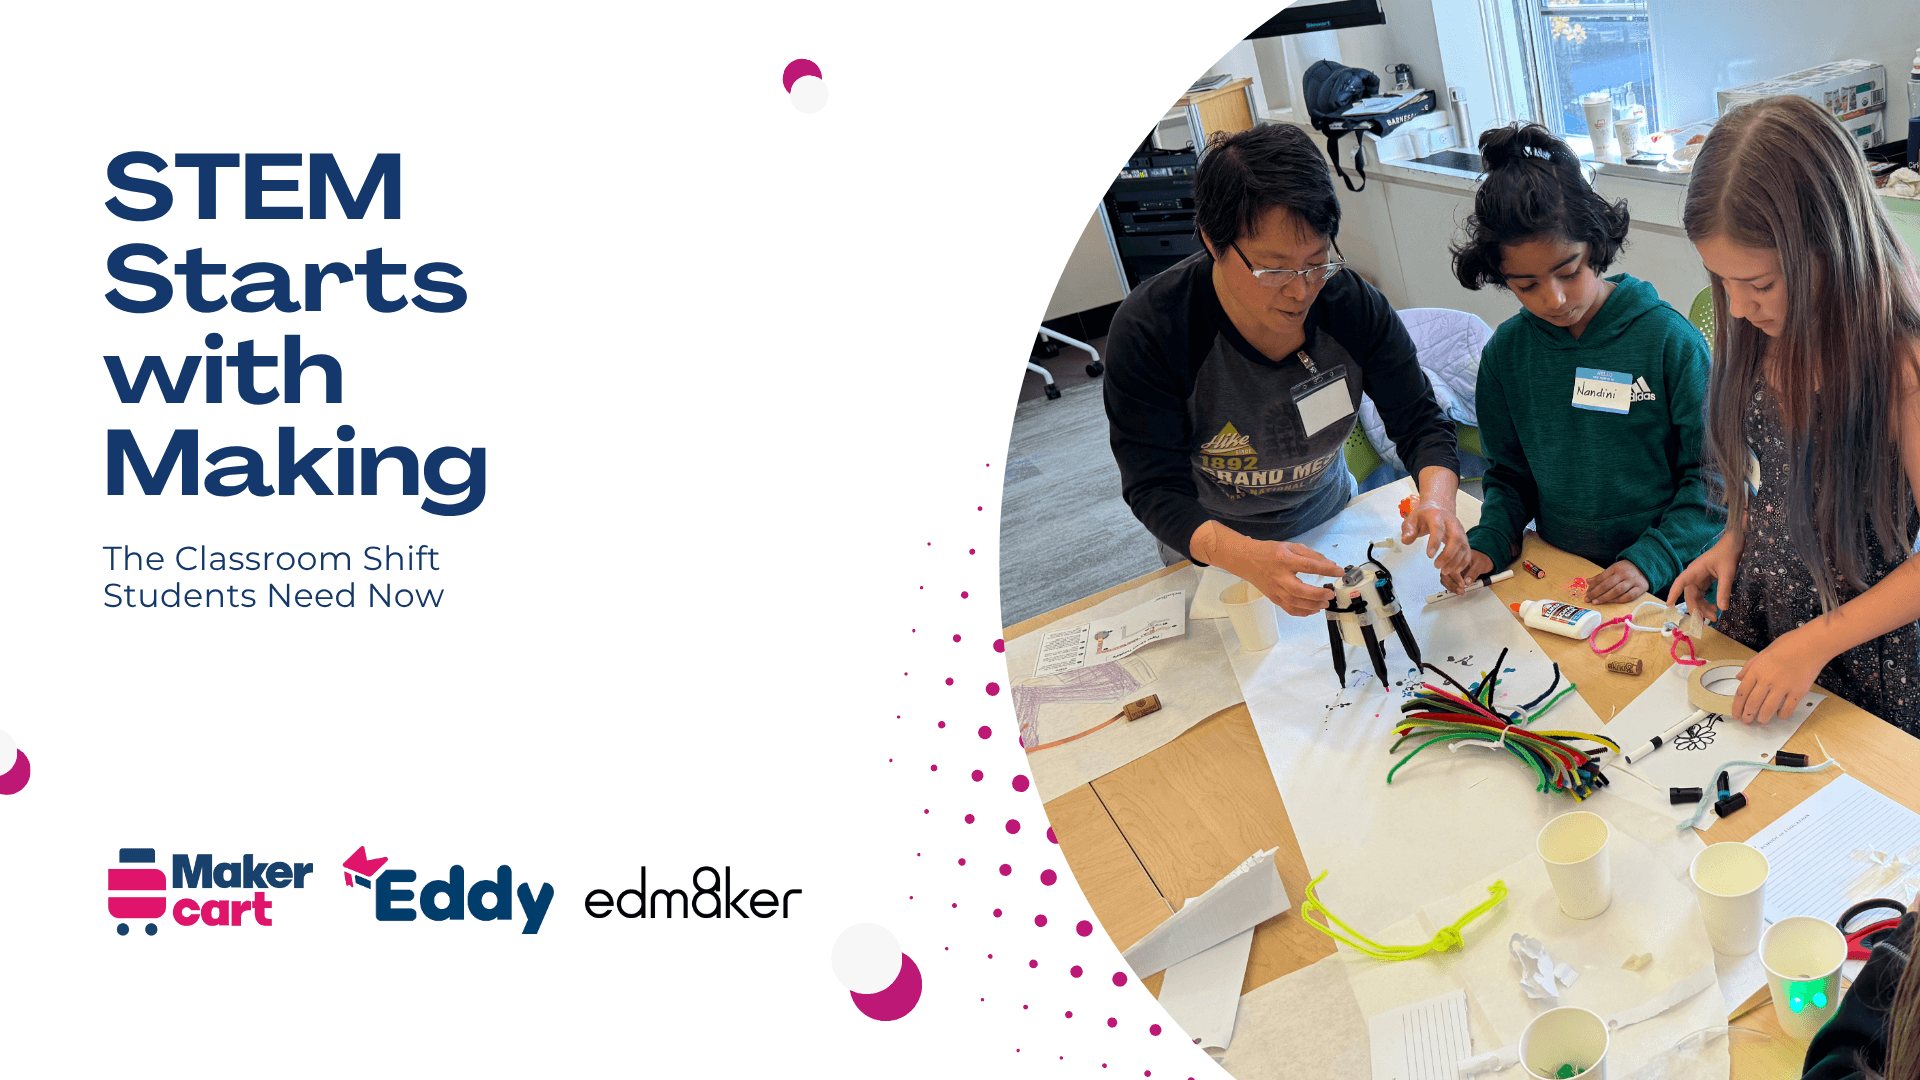
These small integrations turn theoretical lessons into lived experiences.
When students see, touch, and test ideas, they remember them longer and care more deeply about what they’re learning.
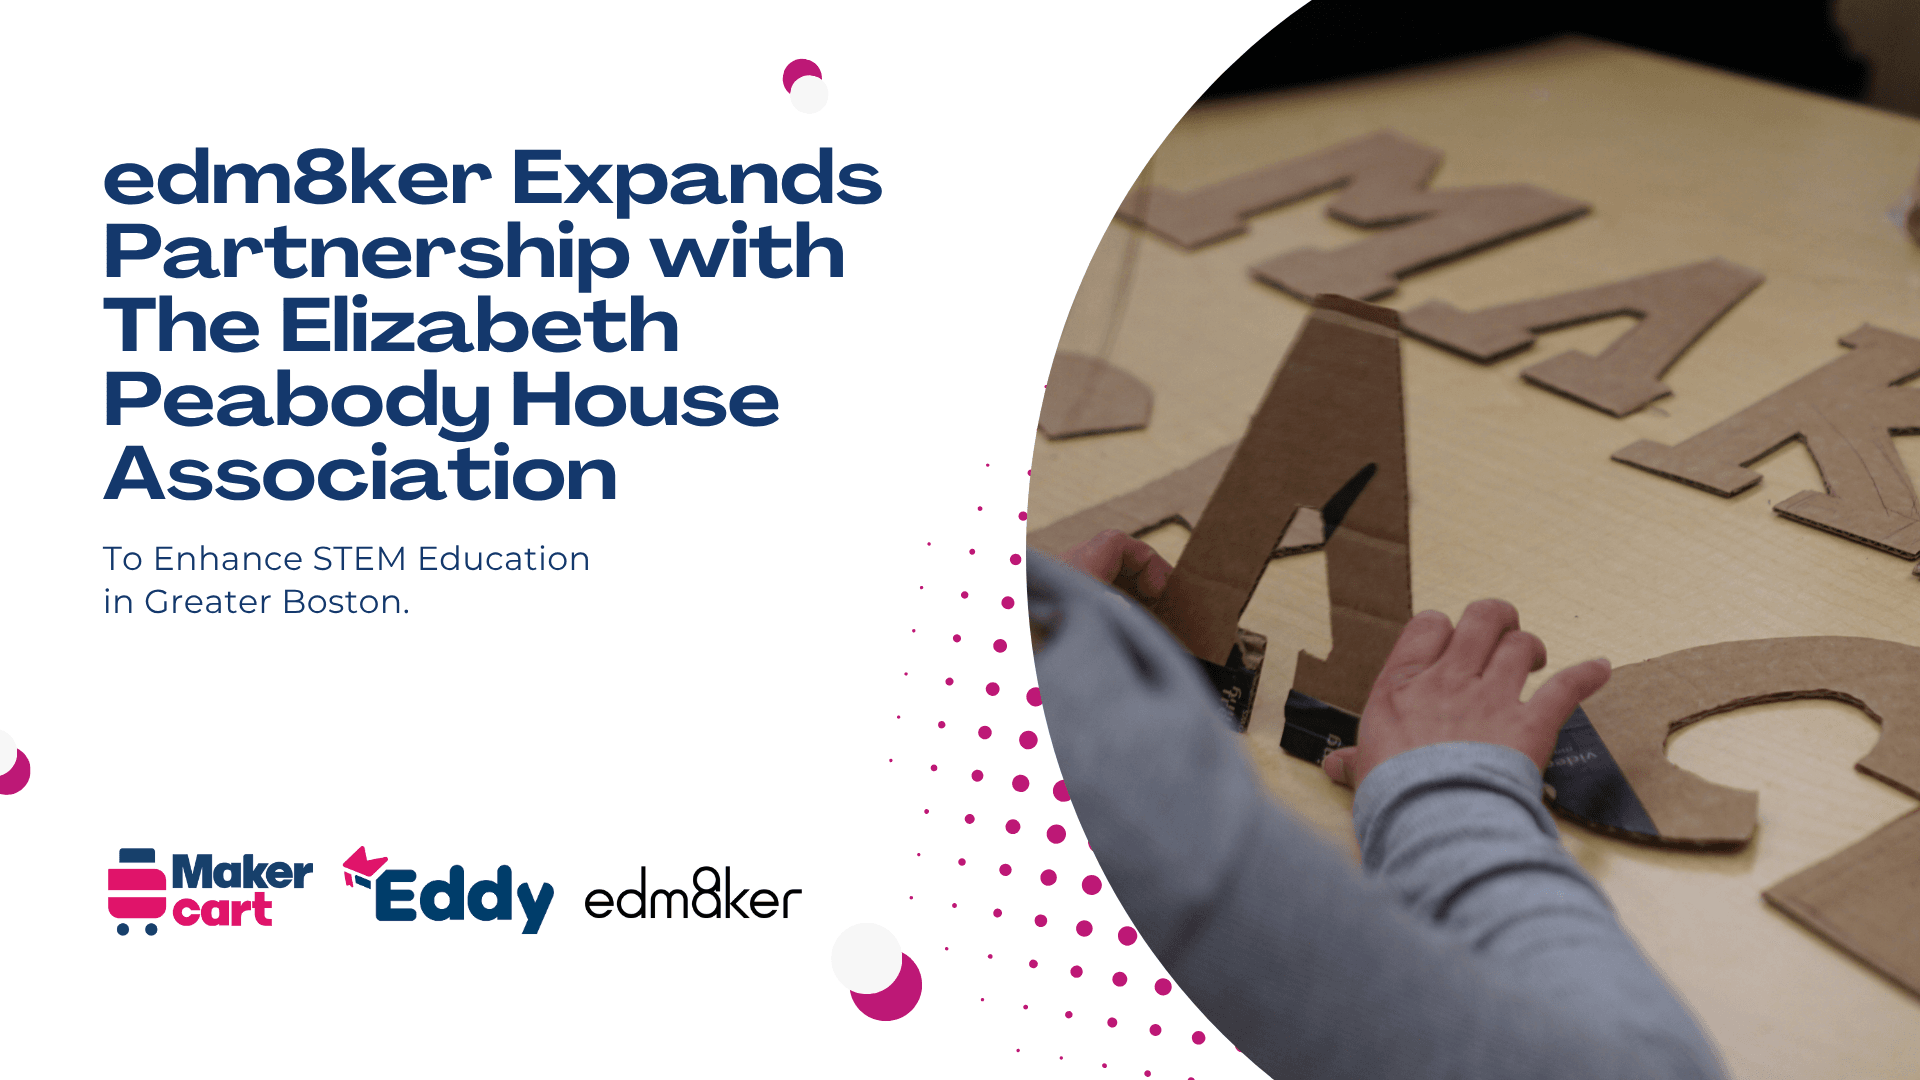
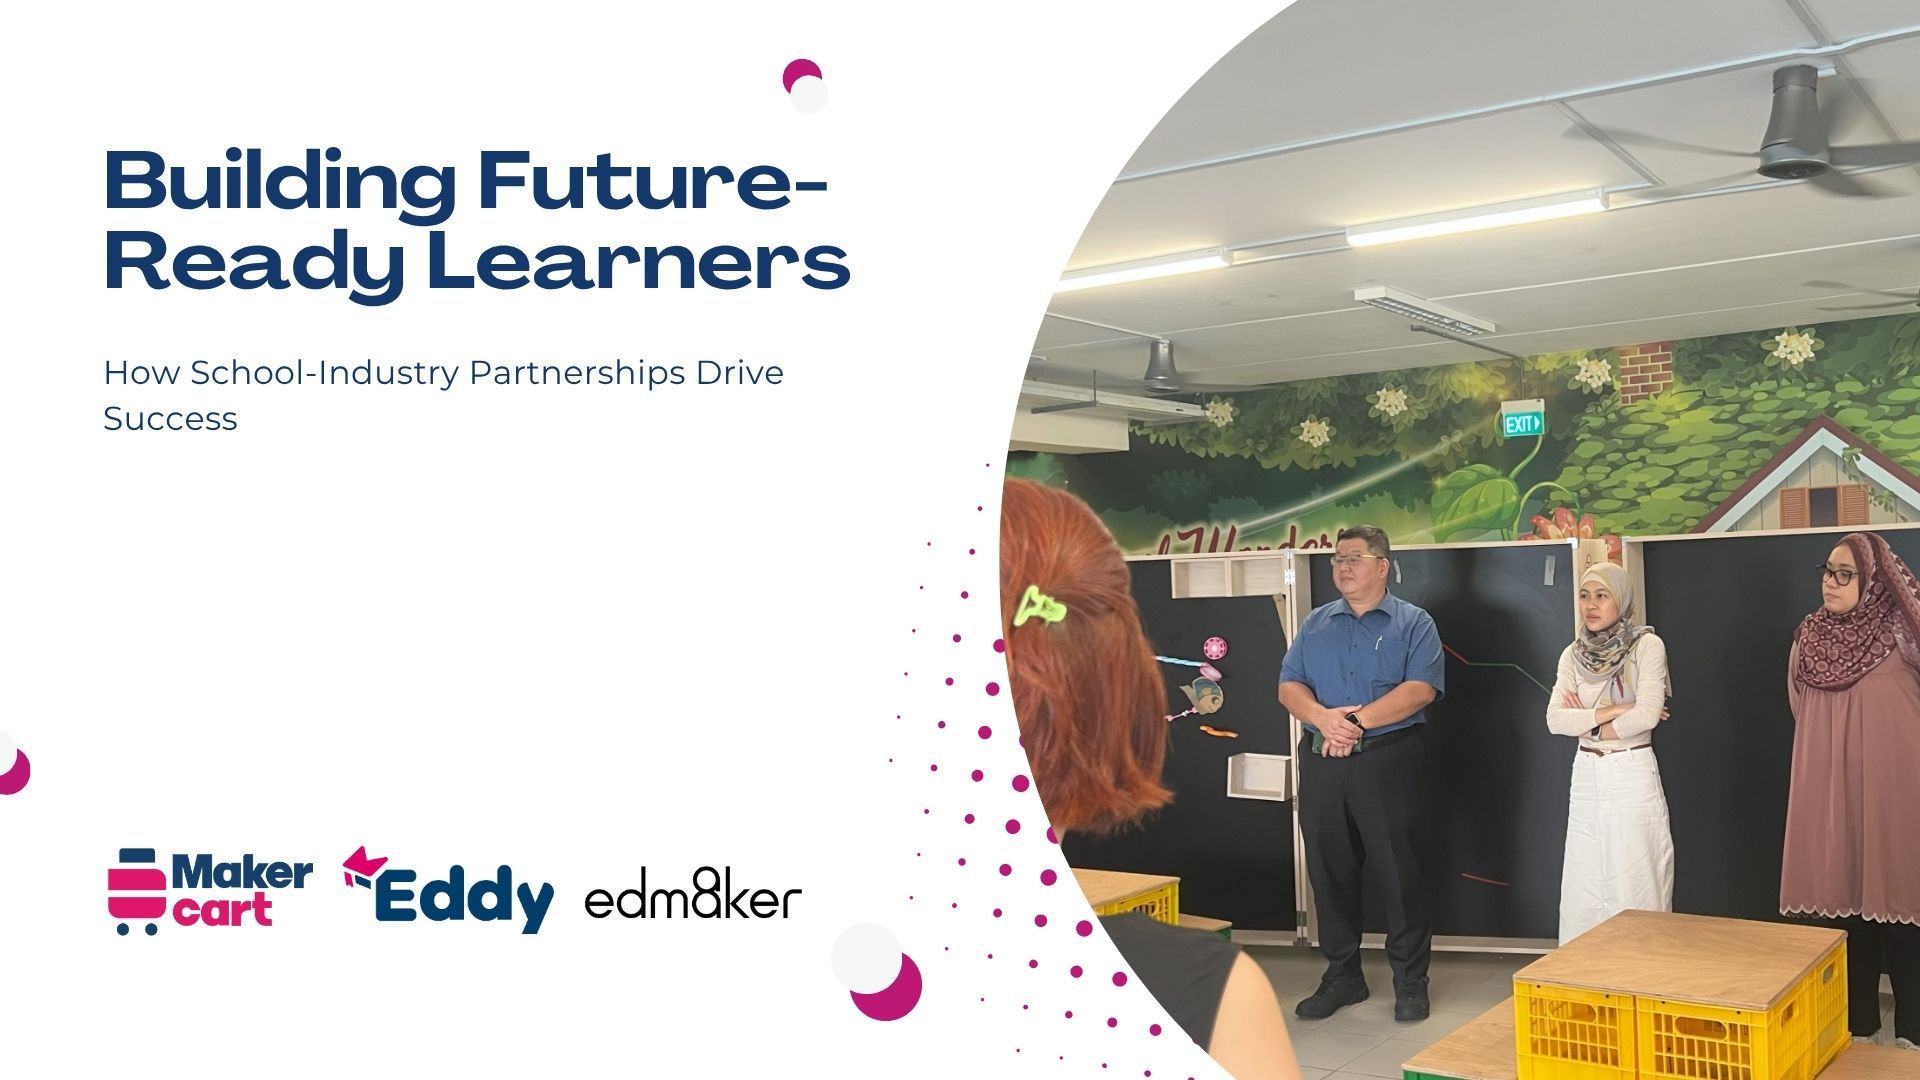
At The Elizabeth Peabody House (Cambridge, MA), an after-school classroom turned into a thriving hub of student-led making using edm8ker’s Makercart. Over a single term, students built everything from 3D pen cartoon characters and pan flutes to talking bots and coded zoo backdrops.
What started as a small experiment became a story of confidence and curiosity — a reminder that innovation doesn’t begin with technology; it begins with trust.
Their story reminds us that innovation doesn’t always start with new tech; it starts with giving kids permission to make.
📖 Read more about this partnership in our white paper:
👉 Designing for the 99%: Building Maker Mindsets at The Elizabeth Peabody House →
📎 Graphic to Save: "Integrate Making in Core Subjects – Sample Activity Grid"
3. Let Students Be the Experts
In a maker classroom, you don’t need to have all the answers.
In fact, when students become co-creators, they learn to lead, troubleshoot, and collaborate more effectively.
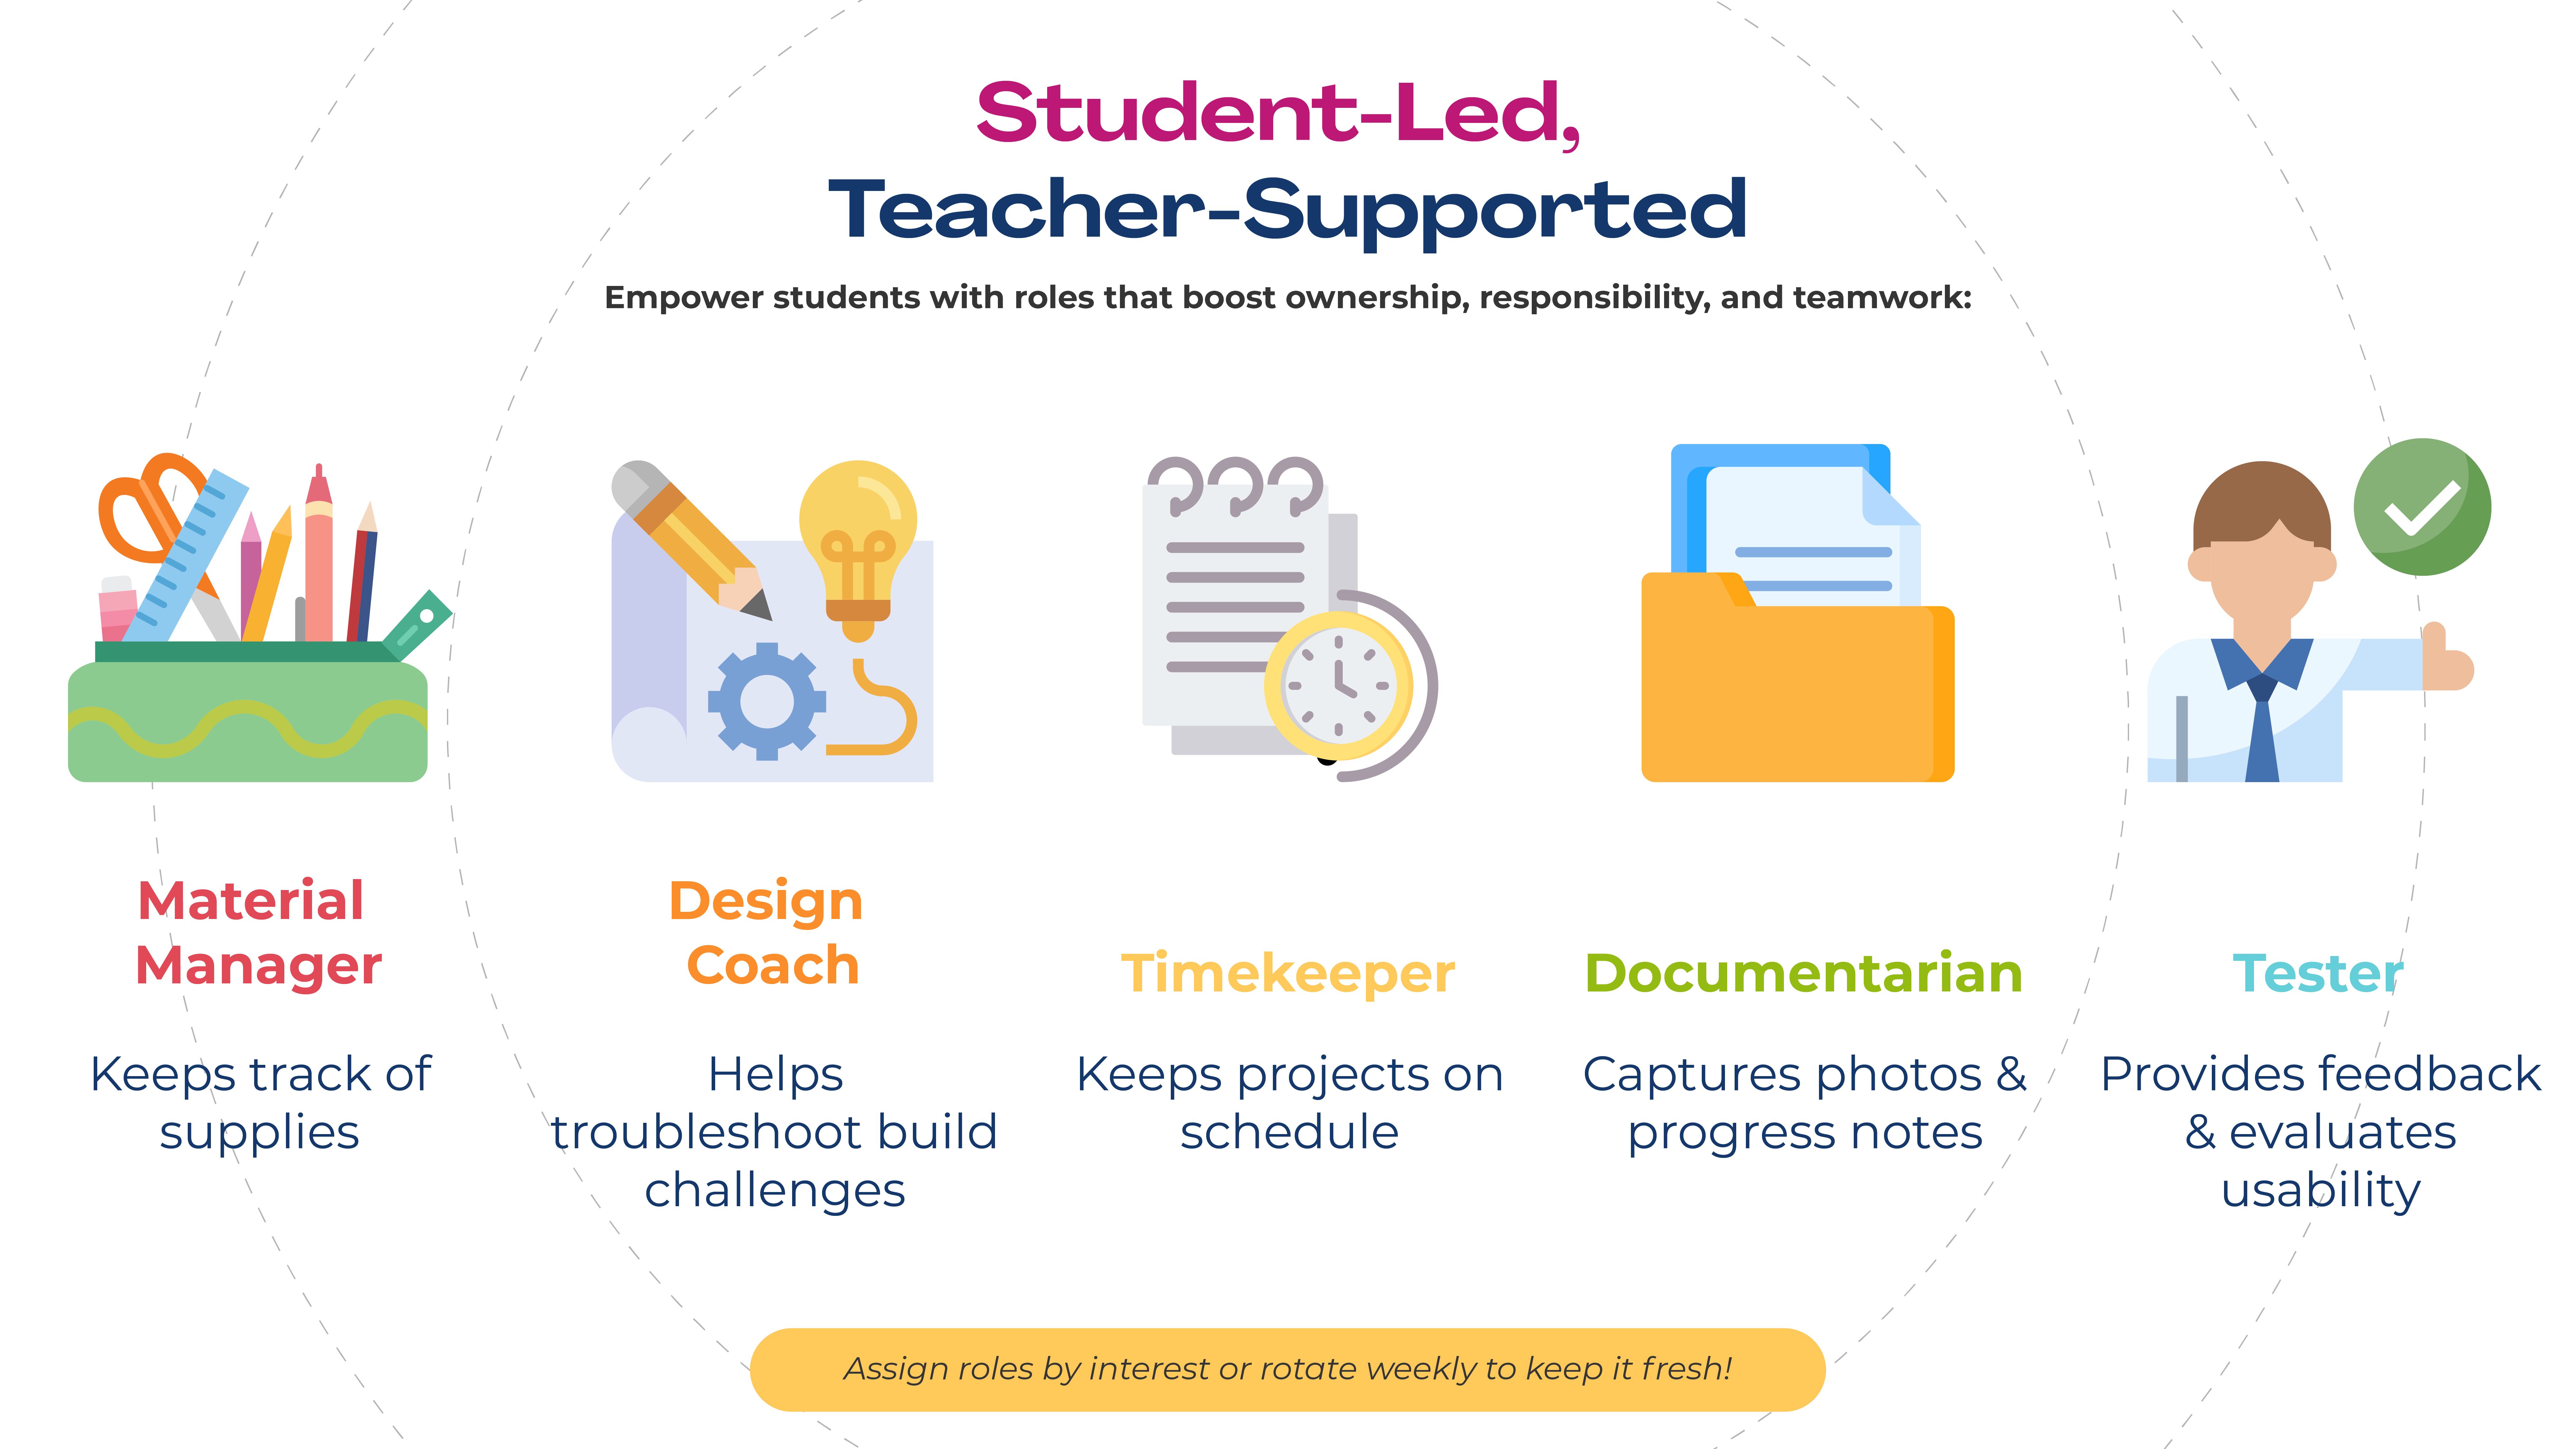
Try giving students specific roles:
Material Manager – keeps supplies stocked and organized.
Design Coach – helps peers brainstorm and refine ideas.
Timekeeper or Documenter – tracks progress and reflects on what worked.
Encourage peer demos, where students spend five minutes teaching the class a new skill or sharing their prototype. These moments not only empower learners but also build confidence, communication, and community.
💡 From our Professional Development sessions: In our Maker Education 101 training, we help educators shift from “instructor” to “facilitator” — learning to guide the process rather than control the outcome. The result? More student ownership and authentic engagement.
📎 Graphic to Save: Student Maker Roles Chart – Empowering Peer Learning
4. Mix Art, Tech, and Storytelling
The most powerful maker projects don’t live in silos — they cross boundaries.
Art and technology aren’t opposites; together, they help students design, empathize, and tell stories that matter.
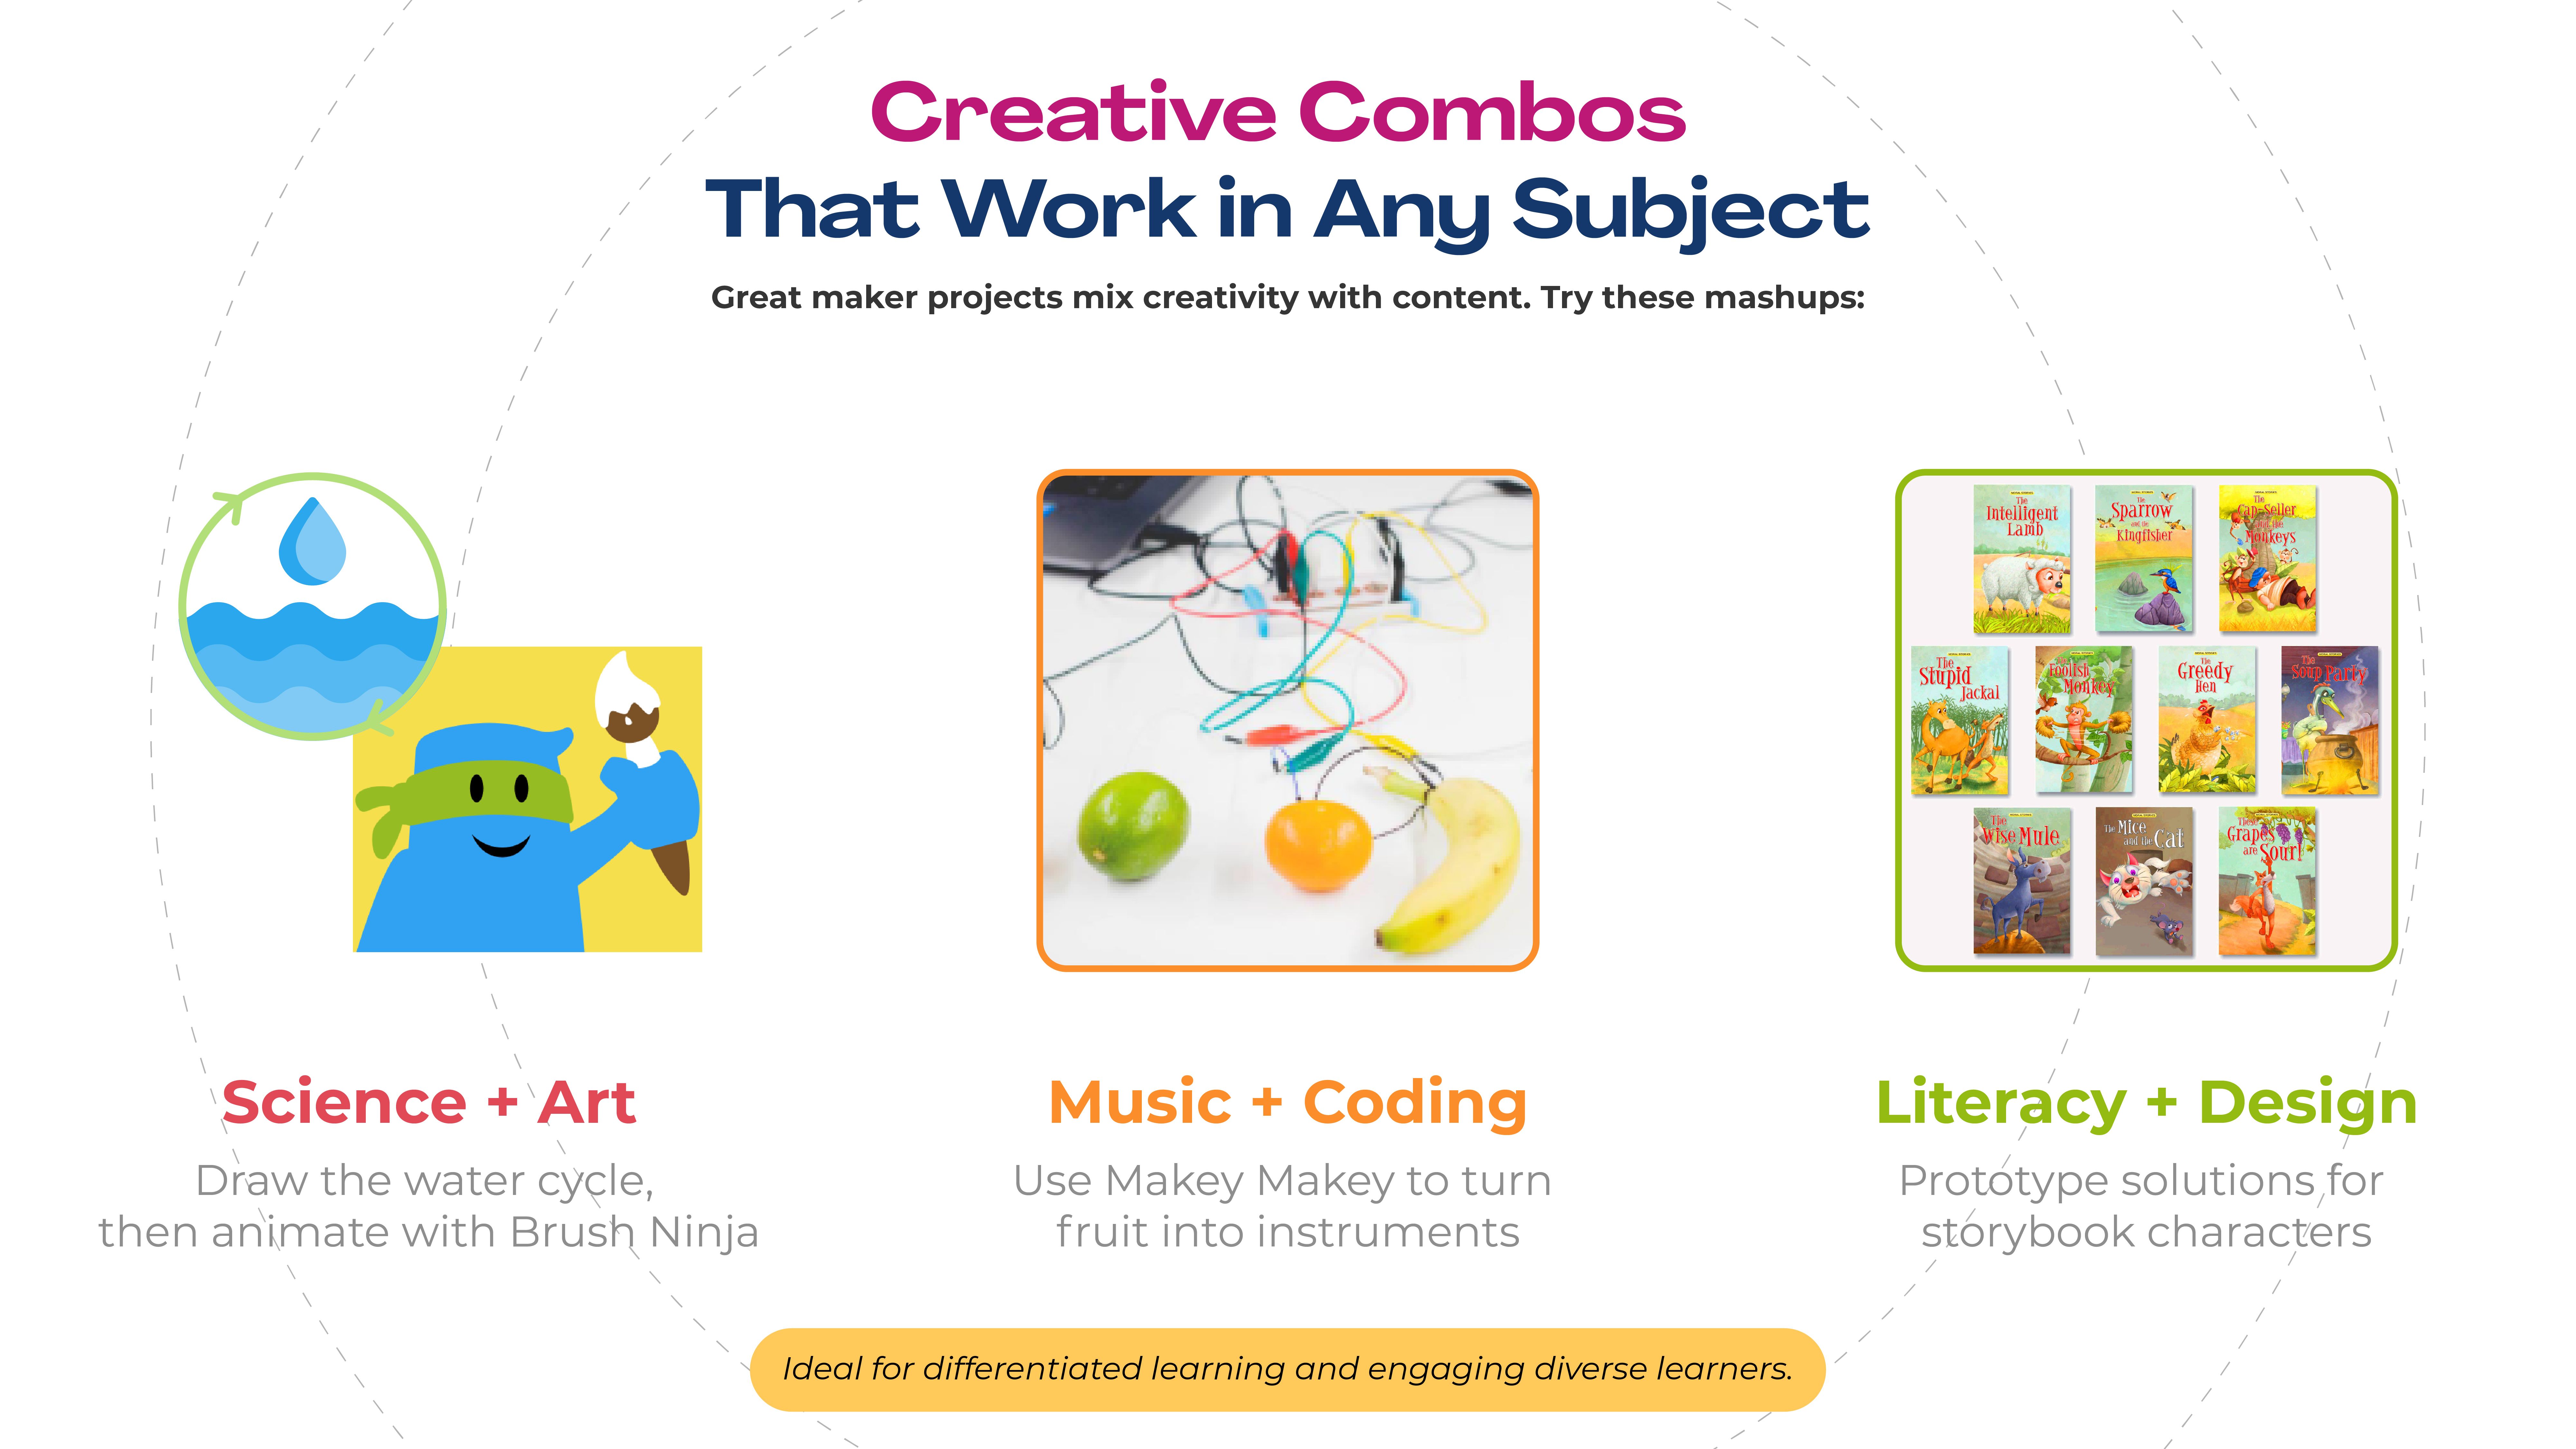
Try this in your classroom:
Use Brush Ninja or Canva to animate a science process, like the water cycle.
Combine music and coding with Makey Makey to design a simple soundboard.
Challenge students to redesign a story’s setting or object through empathy-based design thinking.
By combining creative expression and technical problem-solving, students begin to see themselves not just as learners — but as inventors, artists, and storytellers.
💡 Explore our DesignM8ker program — it blends design thinking, prototyping, and teamwork to help educators connect art, STEM, and storytelling through real-world learning.
📎Graphic to Save: "Maker Mashups – Easy Ways to Mix Art, Tech & Content"
5. Keep It Low-Pressure and High-Curiosity
Making is messy and that’s the point.
It’s not about polished results; it’s about iteration, reflection, and discovery.
Encourage students to view mistakes as part of the process:
Do a “gallery walk” where students showcase prototypes and exchange feedback.
Ask reflective questions like “What surprised you?” or “What will you try differently next time?”
Celebrate the journey, not just the outcome.
When students see that failure is just another word for “version one,” they build resilience — a skill that will serve them long after they leave your classroom.
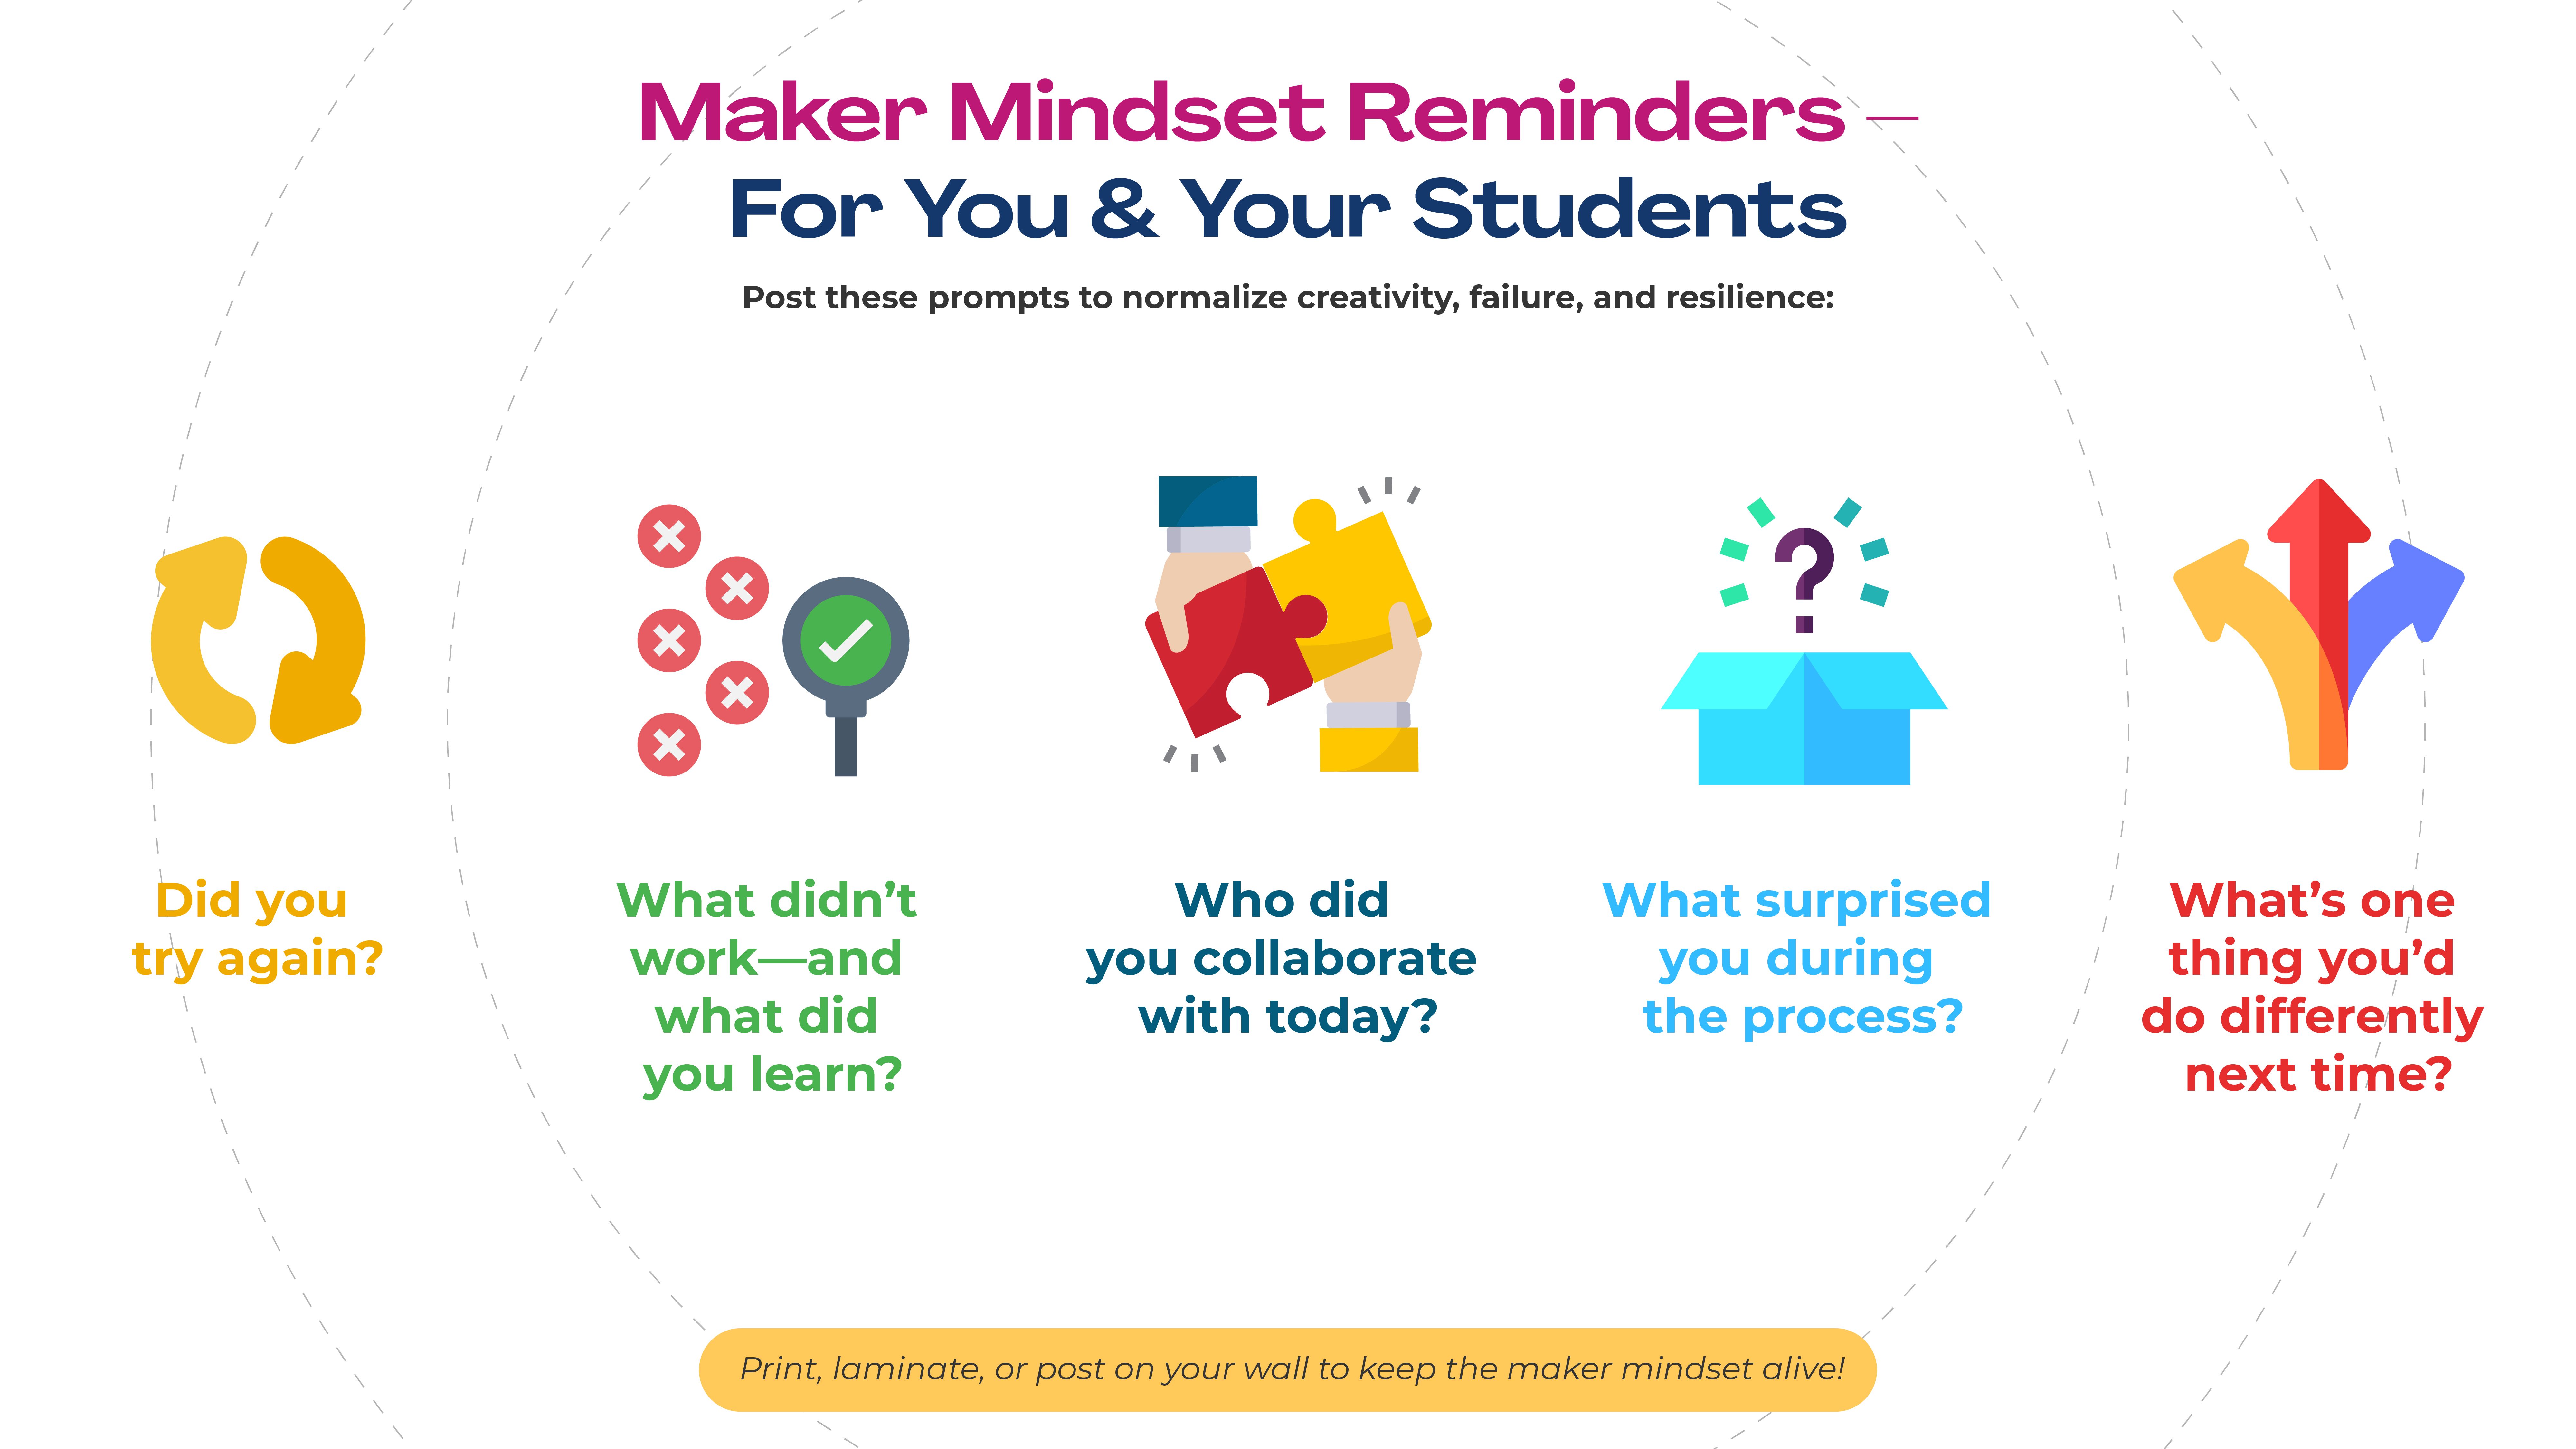
📎 Graphic to Print: Download and print our Maker Mindset Mini-Poster for classroom prompts like “Did you try again?” and “What did you learn from what didn’t work?”
You Already Have What It Takes
You don’t need a dedicated makerspace to be a maker teacher — just a mindset that welcomes exploration and creativity.
Every experiment, every prototype, and every “what if?” moment builds the kind of learning that sticks.
Start small. Start simple. But start.
Here’s how we can help:
📦 Try our Makercart — a mobile kit packed with tools and activities for classroom makerspaces.
📚 Join our Professional Development for Educators — practical sessions that make hands-on learning doable for every teacher.
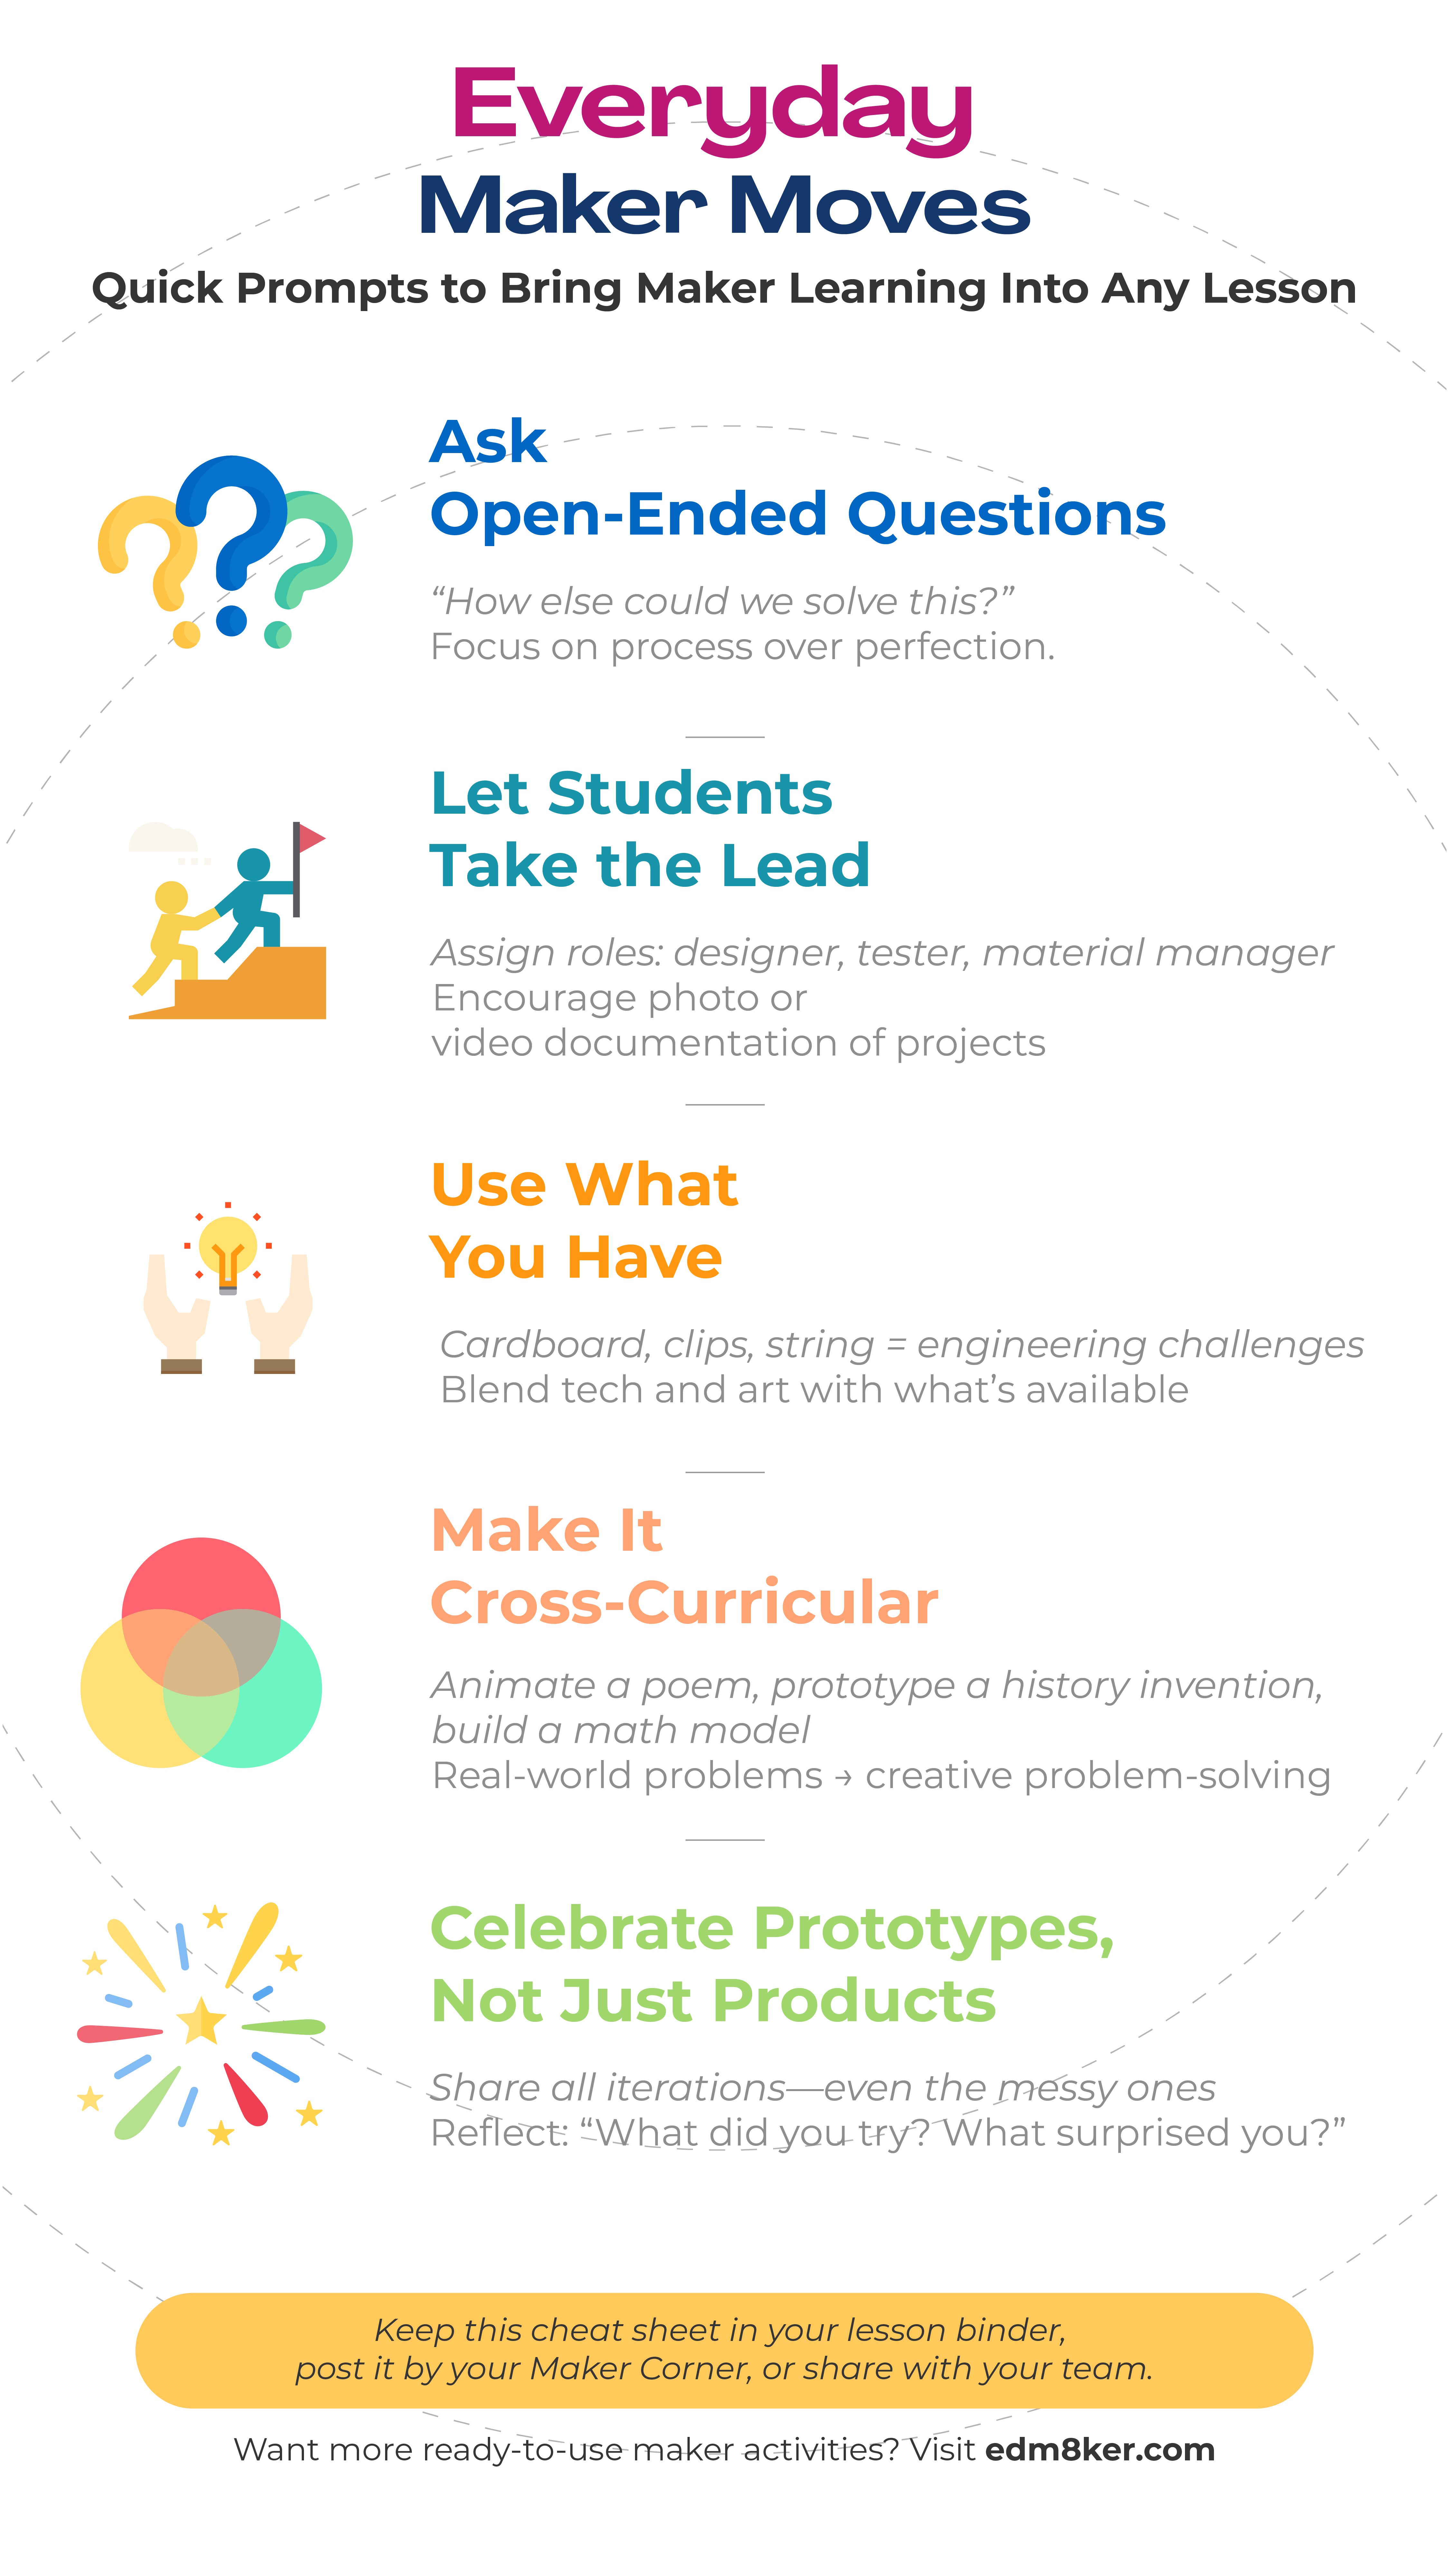
📥 Want a free one-page printable guide? Subscribe to download our “Everyday Maker Moves” Cheat Sheet for Teachers — perfect for your wall, binder, or to share with colleagues.